Moderator edit: See link in post #3 below for the part list, or click here.
OK, I have been procrastinating long enough. It’s time to get the ball rolling with a little help from my friends.
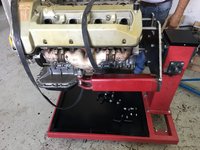
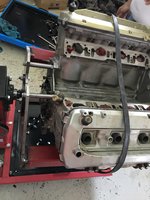
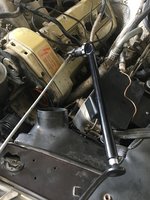
I recently purchased a set of aluminum Oiler Tubes from speedy300D and have had a brand new upper harness in my possession for about 14 years. It’s time to install this stuff. I want to do this only once so here is what I think I need to complete the job for my 93 500E engine.
MB Part numbers for:
1. All of the smog and vacuum hoses on top of the engine. I believe Dave has mentioned it’s a packaged kit.
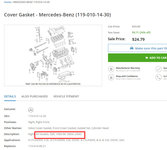
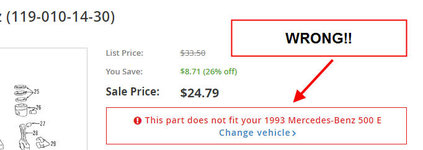
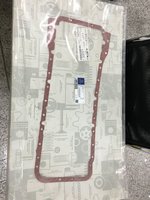
2. MB valve cover Gaskets
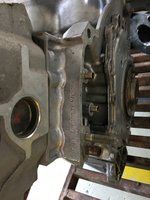
3. MB chain rail guides that I can change with the valve covers off.
Anything else while I have the valve covers off?
Order from online?
Note, I may use Tom Hanson
Thanks for your help.
OK, I have been procrastinating long enough. It’s time to get the ball rolling with a little help from my friends.
I recently purchased a set of aluminum Oiler Tubes from speedy300D and have had a brand new upper harness in my possession for about 14 years. It’s time to install this stuff. I want to do this only once so here is what I think I need to complete the job for my 93 500E engine.
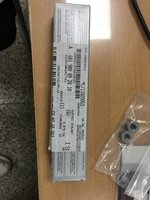
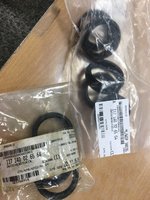
MB Part numbers for:
1. All of the smog and vacuum hoses on top of the engine. I believe Dave has mentioned it’s a packaged kit.
2. MB valve cover Gaskets
3. MB chain rail guides that I can change with the valve covers off.
Anything else while I have the valve covers off?
Order from online?
Note, I may use Tom Hanson
Thanks for your help.


 Exact behaviour as before so I know it's the same issue.

