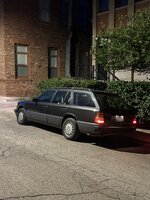
Hi guys, I'm back with another topic. My S124 is coming closer to completion, the carpet however is disgusting and needs a thorough wash and repair. I'll be yoinking the whole thing and having it professionally repaired unless I can find a beige uncut one. I'll be tackling some upholstery shops this incoming Friday and stripping the car over the incoming weekend hopefully.
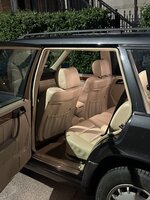
Since there is no documentation on removing carpets on the W124, I'll do it here with my S124. Based on speculation, the sedan is much easier as the carpet doesn't go behind the rear seats.
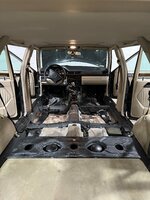
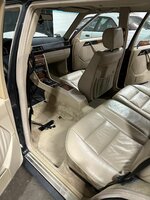
1. Has anyone pulled these floor carpets? I looked around on the internet but can't fit sh*t. The chronological process I'm thinking will be: seats (front and back likely), center console, B and C pillars, and the door sills. What else? I will report back but want to see what people know before I start pulling things.
2. Clips will be needed to hold down the carpet. It looks like 5 per side, 2 in the rear, wagon will likely vary via this video. Allegedly there is 16. I will find out myself within a week and report back. Anyone who conclusively knows, let me know. P/N: 0019978686

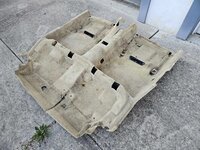
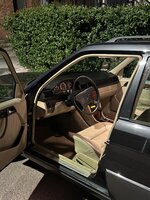
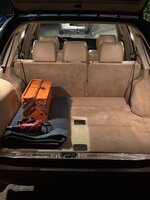
3. Does anyone have not ripped creme/beige S124 carpet? Otherwise, I'm going to go ham on a junkyard E320 with a beige carpet and hand it to an upholstery shop to work it. Call me crazy for reparing something you barely see, but I want to make this car like new again. Pictured is the damage:

That is all I got right now, I know this can be useful for people repairing their carpets or swapping interiors.
Since there is no documentation on removing carpets on the W124, I'll do it here with my S124. Based on speculation, the sedan is much easier as the carpet doesn't go behind the rear seats.
1. Has anyone pulled these floor carpets? I looked around on the internet but can't fit sh*t. The chronological process I'm thinking will be: seats (front and back likely), center console, B and C pillars, and the door sills. What else? I will report back but want to see what people know before I start pulling things.
2. Clips will be needed to hold down the carpet. It looks like 5 per side, 2 in the rear, wagon will likely vary via this video. Allegedly there is 16. I will find out myself within a week and report back. Anyone who conclusively knows, let me know. P/N: 0019978686
3. Does anyone have not ripped creme/beige S124 carpet? Otherwise, I'm going to go ham on a junkyard E320 with a beige carpet and hand it to an upholstery shop to work it. Call me crazy for reparing something you barely see, but I want to make this car like new again. Pictured is the damage:
That is all I got right now, I know this can be useful for people repairing their carpets or swapping interiors.