As promised I report back. I removed the pump without removing the bracket, however I had front light, cowl and SLS tank removed earlier on so it was piece of cake. I think it is possible to remove it without touching the bracket if SLS tank is moved away. Not emptied and removed from the car, just return pipe disconnected and tank moved aside from the bracket.
Now few words about the pump itself. It is a vane type pump, really simple design, it can be fully rebuild by DIYer. I'm just a step away from full rebuild and assembling it back, here are few tips for those who would like to fix theirs.
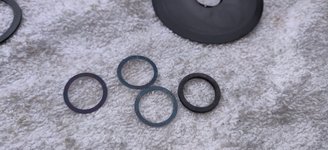
Pump has altogether 7 bearings:
pulley - widely described above, I'm not going to focus on this one
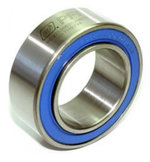
vanes - 4 pcs of J65 type bearings
shaft - front:6203 2RS type bearing, rear: SCE 188 type bearing
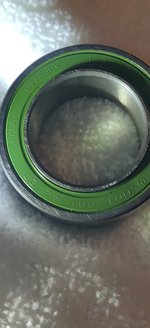
The one that fails most often (besides pulley) is the front shaft bearing. On both pumps I disassembled these bearings were shot. In addition dirt and small particles that make their way to the inside of the pump and get between graphite gaskets and housing are damaging both and making additional noise on top of the damaged bearings. The other bearings should be ok - I had to replace only one small vane bearing as it was little rusty. The other ones only needed new grease after ultrasonic bath in IPA.
The disassembly process is pretty straight forward until it gets to removing the rotor from the aluminum cast. As i don't have a hydraulic press I gave it to the shop that did quite a few things for me in the past. They pressed out the rotor but it was a mistake. The rotor has additional part on top that is pressed in, it won't go through the bearing that is secured with circlip. See below for more clarification:
View attachment 75983
The cylindrical part marked with arrow is pressed on the top of the rotor where the other arrow is. This is how it ends if you use brute force... See the ripped off cast around the bearing recess?
View attachment 75982
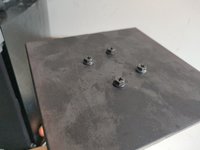
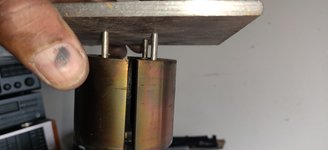
Luckily it was a spare pumps I got from my mechanic. The pump that I removed from my car I gave to a friend of mine that I fully trust. It took him 10 minutes to disassemble it... The trick was he made an adaptor plate with 4 holes that match the bolt pattern on the rear of the rotor (red circles):
View attachment 75984View attachment 75985
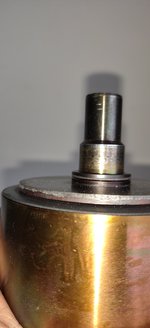
He put 2 spacers between the aluminum body of the pump and the plate then just simply screwed in 4 x M5 bolts evenly. The rotor popped out without a problem. From there it was really simple. Front bearing is secured with circlip, I used vice to press it out, not much force is required. Here is a picture of the pump with removed rear part and the rear part itself, you can see the rear bearing still in place.
View attachment 75986View attachment 75987View attachment 75992
Vanes and rear bearing removed from it's carrier. This bearing turned out to be in perfect shape after ultrasonic bath but I replaced it anyway as it was dirt cheap.
View attachment 75988View attachment 75989
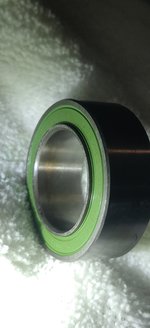
New front bearing (not secured with a circlip yet):
View attachment 75990View attachment 75991
To press the rotor in the new bearing and aluminum casting I used my friend hydraulic press, it was much easier, however I think it is fully doable with the vice. The top part of the rotor - I heated it up a little while the rotor spend few hours in the freezer - it drop in to almost full depth. The hydraulic press did the rest of the job. I still need to put it all together but I believe it shouldn't be a big problem.
I hope the above will help to those who want to rebuild their pump rather than disable it.


")