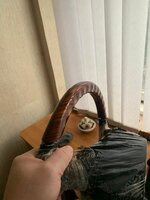
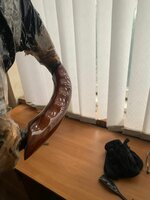
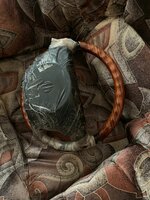
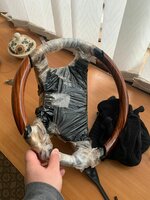
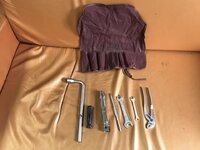
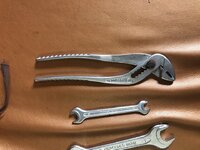
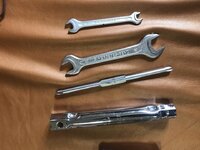
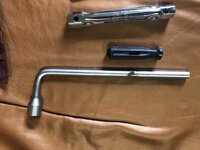
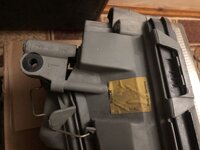
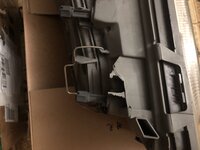
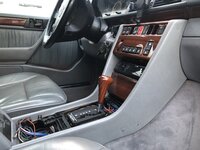
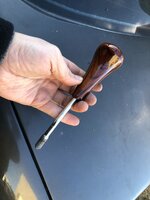
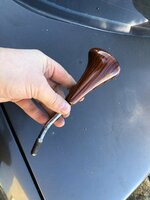
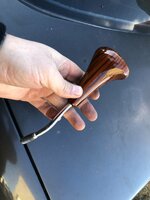
Got an original set tools for a Mercedes 124.
Although they are available to order new, but in blue handbags. I wanted a fetish identity.
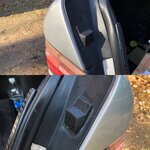
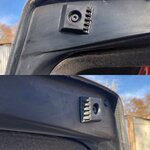
There is not enough stud for mounting the wheels and I would also like a flat screwdriver.
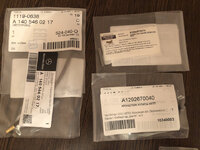
I would be grateful for the numbers.
Although they are available to order new, but in blue handbags. I wanted a fetish identity.
There is not enough stud for mounting the wheels and I would also like a flat screwdriver.
I would be grateful for the numbers.
Attachments
-
 CB09EF05-86B5-476E-850E-90B90A453BEE.jpeg126.3 KB · Views: 5
 -
 DD8E922C-2475-4B18-B3AC-FB251661A04D.jpeg227.7 KB · Views: 5
 -
 CD4CD17C-060C-4E5E-93C2-46D3D49156E5.jpeg216.3 KB · Views: 5
 -
 878295B9-C37B-43F0-AD54-7C101911DB83.jpeg214.7 KB · Views: 5
 -
 6921D0C4-5000-4CDF-8A1E-5576733F2E5D.jpeg290.6 KB · Views: 5
 -
 A468E0E6-1F76-46EE-879B-D87C269EA5B2.jpeg435.6 KB · Views: 5
 -
 6245E00C-93B7-4595-A0CB-55352C705E4A.jpeg287.1 KB · Views: 5


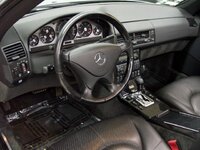
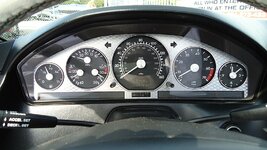
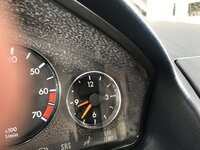
") ... a brief background, I experienced having the dreaded "white spots" on my R129's instrument cluster 2 years ago. Rather than experiment removing the front plastic cover and repaint, I decided to buy the upgraded R129 Silver Arrow instrument cluster and a new housing. Pictures attached below.
... a brief background, I experienced having the dreaded "white spots" on my R129's instrument cluster 2 years ago. Rather than experiment removing the front plastic cover and repaint, I decided to buy the upgraded R129 Silver Arrow instrument cluster and a new housing. Pictures attached below.  I was very happy with the result, but not my wallet.
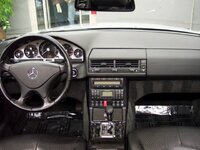
 with regards to editing pictures.


 , ordered a lot of parts (imagine an Isuzu Elf NPR dropside 16foot bed filled with parts that the MB dealership took 2 days to inventory the parts). Had the car (interior and exterior) resprayed with 744 Brilliant Silver.