Uncle Kent's video is talking about the well-known problem with M116/M117 engines, which need high ZDDP oil to keep the valvetrain from failing. The moly (MoS2) might also work, and/or it's possible the LiquiMoly he's showing has adequate ZDDP levels (I don't have time to look it up; couldn't find any VOA or UOA for this specific oil). This is apples & oranges though; different engines have different needs. I wouldn't use that stuff in an M116/M117, but that's just me.
The LiquiMoly is a good oil, and would be fine for the M119. It would be interesting to see if it makes any difference with otherwise incurable lifter ticking. FWIW, the Red Line 10W-40 that I use in my M119's has fairly high ZDDP and also high levels of moly, they just don't market or advertise the moly.
Interestingly, in 2019 @kiev posted some analysis data (click here) on LM 5W-40, which shows low ZDDP and also low moly levels. Hmmm.
Another thread on BITOG (link) mentioned that you better shake the LiquiMoly bottle well before using, or all the moly goodness could be sitting on the bottom of the jug, dropped out of suspension.
EDIT - found a UOA (below) from this link, but can't confirm if it's LM LEICHTLAUF or not, which is what Kent shows. 1200 zincs and 900 phosphorii is not bad, but only 74 moly? My preferred Red Line is in the 600-800 range for moly. (!?) Not that moly is the most important part of the additive package, but it makes me wonder about the LM total package. The BITOG peanut gallery was clearly less impressed than Kent.

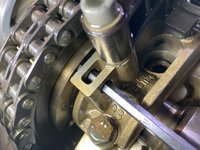

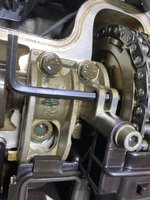
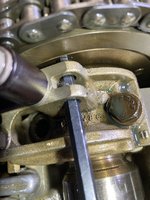


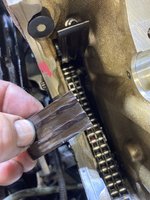


 . Long story short: valve stem seals will have to wait. I hope I’ll be able to assemble everything back as it is
