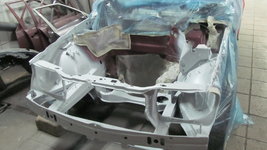
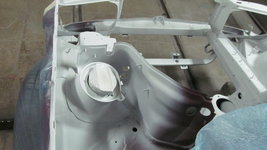
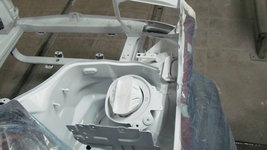
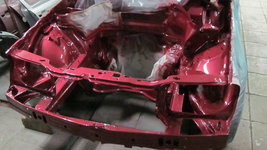
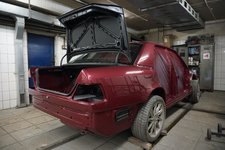
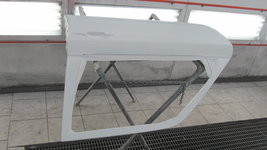
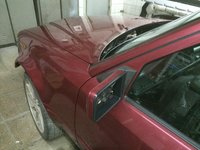
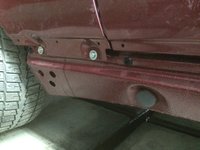
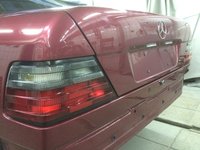
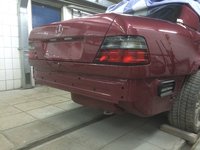
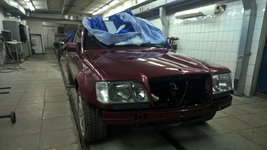
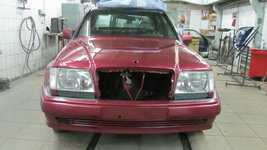
Is that Roma_500E's car?
Navigation
Install the app
How to install the app on iOS
Follow along with the video below to see how to install our site as a web app on your home screen.
Note: This feature may not be available in some browsers.
More options
Style variation
-
Hi Guest !
Welcome to the 500Eboard forum.
Since its founding in late 2008, 500Eboard has become the leading resource on the Internet for all things related to the Mercedes-Benz 500E and E500. In recent years, we have also expanded to include the 400E and E420 models, which are directly related to the 500E/E500.
We invite you to browse and take advantage of the information and resources here on the site. If you find helpful information, please register for full membership, and you'll find even more resources available. Feel free to ask questions, and make liberal use of the "Search" function to find answers.
We hope you will become an active contributor to the community!
Sincerely,
500Eboard Management
You are using an out of date browser. It may not display this or other websites correctly.
You should upgrade or use an alternative browser.
You should upgrade or use an alternative browser.
Almandin 500E long going restoration.
- Thread starter SayHey
- Start date
Right!Is that Roma_500E's car?
Alex,
It would be a good chance to hide those crevices now, which to my understanding has no other mission than indicating the panel joint, which can be seen inside the boot if ever needed...
I like the original look,
I thought of that and also about hiding antennae hole also, but decided to go stock look
I like the original look,
I thought of that and also about hiding antennae hole also, but decided to go stock look
i agree with you .to be honest...that little joint between the back plate and the fender is actually giving a certain "look" i think...though very minor..but it DOES do something to the "lines" back there..
Greeetings from Norway
Alex,
It would be a good chance to hide those crevices now, which to my understanding has no other mission than indicating the panel joint, which can be seen inside the boot if ever needed...
ABSOLUTELY NOT! Any restoration if correctly done, would not hide, with lead, plasic, by any means. Result would be nothing but, cheap look and
a bad sign of a careless restorer. I would look at it very suspiciously, what is original is original...........and should stay so.
Those have always been the topic of some interesting conversation. Though I don't find them particularly attractive on their own, they have become attractive to me because I see most things after they are processed through my workshop/practical experience filter, so whenever I notice their absence, my first thought is "It's been wrecked, and the people doing the repair work were not knowledgeable or careful enough to know the difference" because that is almost always what it represents. Similarly, when I see incorrect/inappropriate wheels, stance etc. on a vehicle, I "see" how it actually feels, so nothing about it says "upgrade" or "looks good" to me, it automatically looks hideous, because hideous is how it works. That's what has happened to me with those crevices. Their absence now just screams "wrong"
I own 3 W124's, 2 are 500E's and I cannot imagine my cars without those beautiful crevices.
It's a W124 signature.
It's like cutting off a beautiful tail from a rooster.
[emoji3]
Please don't take it the wrong way, your restoration is going great and everyone has different taste or body works, rims, colors, etc etc
Good luck, and great work on your car.
Lot's of success ahead!
Sent from my iPhone using Tapatalk
Last edited:
ABSOLUTELY NOT! Any restoration if correctly done, would not hide, with lead, plasic, by any means. Result would be nothing but, cheap look and
a bad sign of a careless restorer. I would look at it very suspiciously, what is original is original...........and should stay so.
Wow - a strong desire for an aesthetic detail.
But I do understand, they are a part of the W124 signature and should be kept on a pristine, original sample like SayHay's car. However, I am twofold dependent on the individual car, so they will be gone on my '92 which is a modified car. But clearly documented with before & after pics.
Keep up the good work, Alex!

When you are lucky AF)
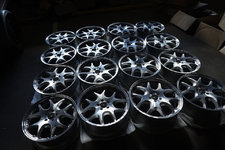
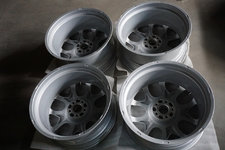
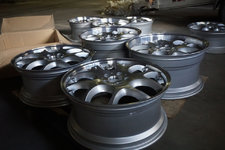
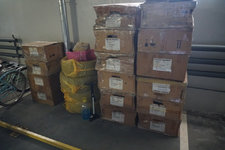
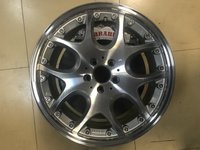
4 new sets of Brabus rims including my beloved size - 19 inch 8.5 front anf 10 rear!
two sets of 20x9.0 front 20x9.5 rear
4 new sets of Brabus rims including my beloved size - 19 inch 8.5 front anf 10 rear!
two sets of 20x9.0 front 20x9.5 rear
Attachments
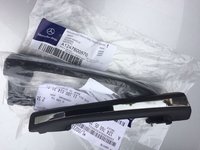
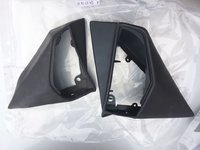
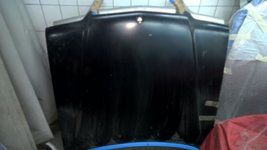
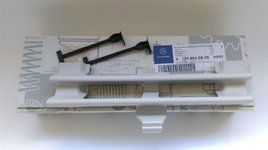
Some new stuff
Attachments
-
 FullSizeRender(1).jpg102.4 KB · Views: 24
 -
 FullSizeRender(2).jpg111.8 KB · Views: 27
 -
 FullSizeRender(3).jpg127.4 KB · Views: 22
 -
 FullSizeRender.jpg84.5 KB · Views: 24
 -
 IMG_0167.JPG131.3 KB · Views: 21
 -
 IMG_0283.JPG172.5 KB · Views: 20
 -
 IMG_0285.JPG88.7 KB · Views: 20
 -
 IMG_0294.JPG103.9 KB · Views: 26
 -
 IMG_0296.JPG109.8 KB · Views: 22
 -
 s-l1600.jpg121.4 KB · Views: 25
As my paint master said - oem coating is the best one that can be made, and if it remains without damage it is better to leave it as a base layer.
Exactly- there is no need to bare metal spray any w124 with sound panels. The factory undercoats are high quality. Indeed - I would be wary of any 'Bare Metal' re-finished car because IMO the chances of contamination / future corrosion would be higher (Than original, good primer) unless done very carefully.
I am aware of the zinc coating issues, but as far as I know it can be reapplied/re-sprayed. And as some areas are already down to bare metal you would need to apply rust protection to the whole car.
With the current situation the paint thickness will greatly vary throughout the car, and the new paint (which should last similar to the original) is being sprayed on top of 25 years old paint which may start to chemically/physically deteriorate sooner than the new layer.
I am not a paint expert of course, its just an observation, please correct me if I am wrong.
It can be reapplied/re-sprayed... but not to the level of the factory coating, which was a complete dip of the chassis in a bath which electrostatically (??) bonded it to the metal. If possible you don't want to remove the factory coating to expose bare metal, unless it's absolutely necessary.I am aware of the zinc coating issues, but as far as I know it can be reapplied/re-sprayed...
See 6:30 to 6:50:
[video=youtube_share;OI1TJ-1aCZY]https://youtu.be/OI1TJ-1aCZY?t=390[/video]
Attachments
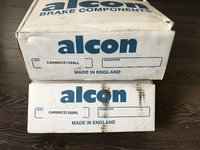
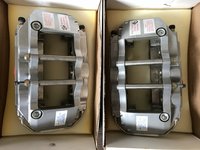
Oh! 380mm thats MEGA, is that really nessesary, maybe youre going racing, perhaps?
No racing)Oh! 380mm thats MEGA, is that really nessesary, maybe youre going racing, perhaps?
I just want to have all inner space of wheel filled with brake rotor)
It can be reapplied/re-sprayed... but not to the level of the factory coating, which was a complete dip of the chassis in a bath which electrostatically (??) bonded it to the metal. If possible you don't want to remove the factory coating to expose bare metal, unless it's absolutely necessary.
See 6:30 to 6:50:
The zinc coating can not be reapplied, it's a galvanizing process when the sheet metal is rolled up on hughe coils prior stamping. The zinc coating can be retained when carefully removing the paint by paint stripper for example. Any abrasive work will destroy the layer. The picture and coating you refer to and which is visible in the picture is the so called KTL (german short Form) Kathode charged dipping bath. This leaves a even and thin layer of the basic primer on the metal due to the electric charge while dipped in the basin. This paint reaches everywhere since the body is fully submerged and the viscosity of the liquid is very low. This is usually re-applied during a repair with a good base primer. Especially in Uni body designs it is difficult to apply any protective coating between welded panels. Professional restoration companies however perform nowadays factory like treatment in a acid bath to remove all paint and underbody coating and re-do the factory like primer application in a dipping bath. The approximate cost for such treatment ranges usually in between 4000-6000 Euro for already stripped down body.from there wards the seam sealing, underbody coating application etc starts.
Last edited:
Well, we know where a good percentage of the world's available E500E spare parts stock has gone and is going! I'm jealous! Great job and can't wait to see it finished.
Well, we know where a good percentage of the world's available E500E spare parts stock has gone and is going! I'm jealous! Great job and can't wait to see it finished.
Ahah) MB OEM parts tycoon)
Attachments
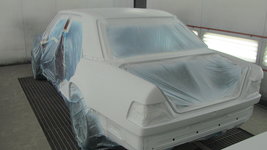
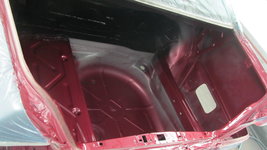
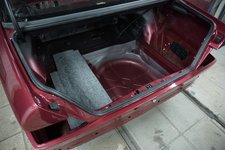
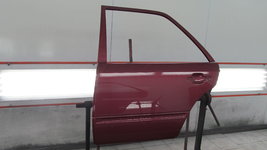
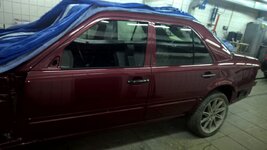
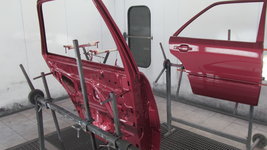
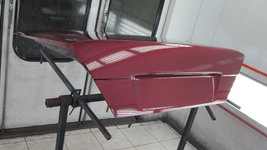
Nearly finished with chassis.
Hope to take it home in beginning of spring and start assembly
Hope to take it home in beginning of spring and start assembly
Attachments
-
 IMG_2759.JPG1.3 MB · Views: 39
 -
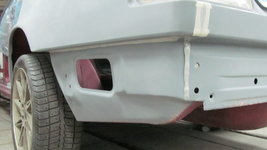 IMG_2760.JPG1.6 MB · Views: 47
 -
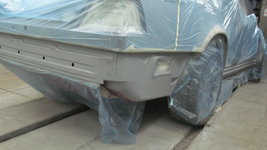 IMG_2772.JPG1.5 MB · Views: 37
 -
 IMG_2789.JPG1.6 MB · Views: 32
 -
 IMG_2800.JPG1.8 MB · Views: 34
 -
 IMG_2801.JPG2.2 MB · Views: 33
 -
 IMG_2804.JPG2.1 MB · Views: 43
 -
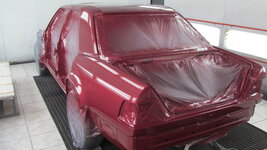 IMG_2806.JPG1.8 MB · Views: 38
 -
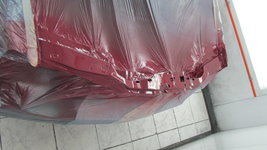 IMG_2809.JPG1.6 MB · Views: 36
 -
 IMG_2811.JPG1.4 MB · Views: 36
Love that color [emoji7]Nearly finished with chassis.
Hope to take it home in beginning of spring and start assembly
Sent from my SM-G928V using Tapatalk
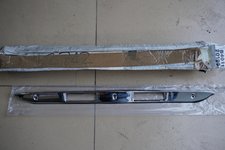
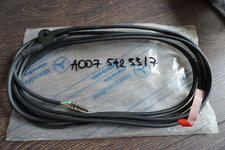
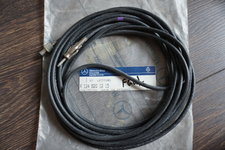
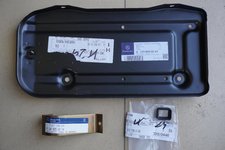
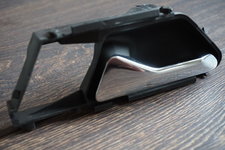
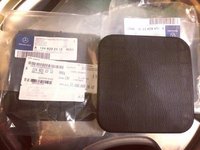
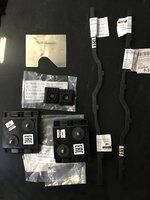
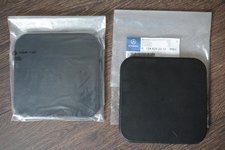
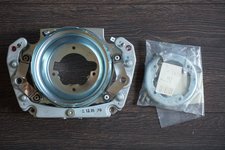
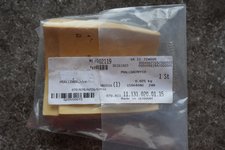
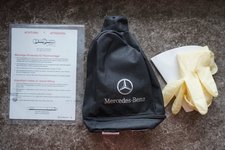
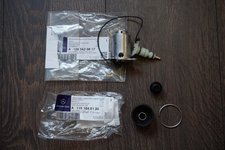
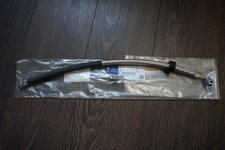
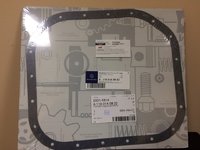
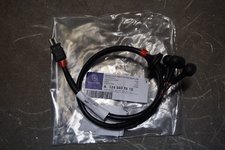
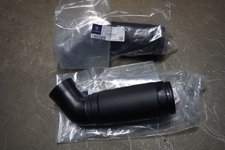
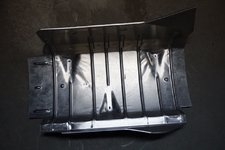
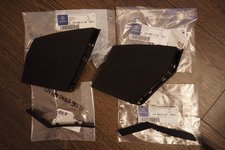
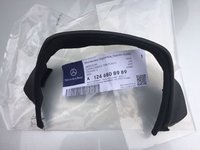
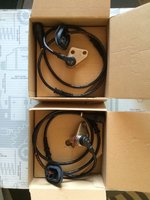
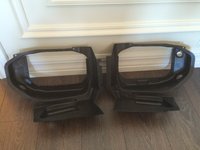
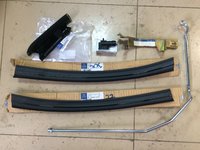
Some new parts, some of them are NLA
Attachments
-
 IMG_4532.JPG1.6 MB · Views: 10
 -
 IMG_4599.JPG1.7 MB · Views: 12
 -
 IMG_4602.JPG128.8 KB · Views: 14
 -
 IMG_5293.JPG2.1 MB · Views: 11
 -
 IMG_5120.JPG1.1 MB · Views: 14
 -
 FullSizeRender.jpg1.3 MB · Views: 15
 -
 DSC02055.jpg1.4 MB · Views: 14
 -
 FullфSizeRender.jpg127.4 KB · Views: 13
 -
 FullSizeRфender.jpg84.5 KB · Views: 12
Parts Parts Paint and more Parts!! Geezs
I'll be in Saint Petersburg on May 18th please have your car done for inspection.
I hope the chassis will be back to St.Petersburg till May 18!
I a doing all works in Moscow.
If this will happen I can show it to you for sure!
I hope the chassis will be back to St.Petersburg till May 18!
I a doing all works in Moscow.
If this will happen I can show it to you for sure!
NO PRESSURE from me. I was just giving you a hard time
 I would love to see your car but it would be impossible
I'm arriving on a cruise ship the Rotterdam and have booked tours with a Russian tour company called Alla Tours. We are there Sunday and Monday and the tours take up the whole two days. No time for visits outside of the touristy stuff. This is my second visit to St. Petersburg what a beautiful city. Anyway I am on a leash with the tour company. I do not have a Russian Visa and cannot leave the tour group. We get off of the ship go thru customs and meet the tour guide and off we go.
Hopefully some day we will visit Russia and stay for a while on a real visa.
You still need to get that car done. It should be a real beauty and be 'AS NEW CONDITION' when you are done. I've never seen so many new parts.
Take Care
So, my puzzle is coming together!
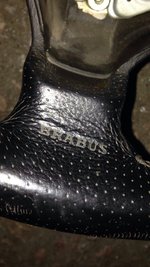
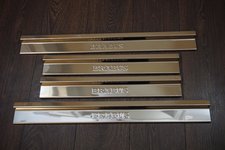
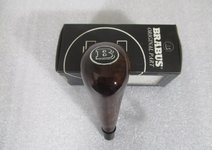
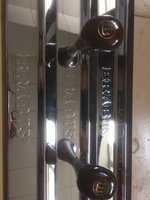
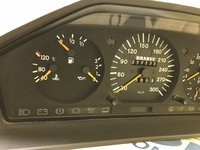
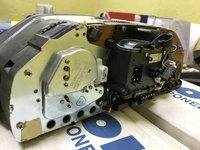
Brand new door sils, brand new shift knob and ther unicorn - Brabus instrument cluster!
The only part missing now is Brabus tempamatic system with switcher near the light switch!
Brand new door sils, brand new shift knob and ther unicorn - Brabus instrument cluster!
The only part missing now is Brabus tempamatic system with switcher near the light switch!
Attachments
No) I had one used set and sold it when I found this new ones!Do you have another set of those door sills ?
I believe that there must be another new set of Brabus door sills. You only need to believe, wait and search)))
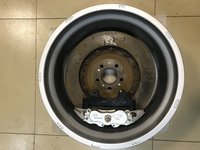
So, tonight was first test fitting of front brake system.
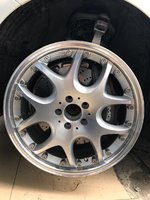
This is a 375x35 front rotors in a 19x8.5 Brabus Monoblock V rim.
Fits perfect. So I am now in a search for 370-375mm front rotors.
Also ordered a full titanium upgrade for calipers - all screws, bleeders, bolt and piston will be made from titanium. One step towards ultimate brake kit)
This is a 375x35 front rotors in a 19x8.5 Brabus Monoblock V rim.
Fits perfect. So I am now in a search for 370-375mm front rotors.
Also ordered a full titanium upgrade for calipers - all screws, bleeders, bolt and piston will be made from titanium. One step towards ultimate brake kit)
Attachments
Similar threads
- Replies
- 7
- Views
- 636
- Replies
- 13
- Views
- 2,858
- Replies
- 123
- Views
- 7,558
- Replies
- 5
- Views
- 911
Who has viewed this thread (Total: 1) View details
Who has watched this thread (Total: 5) View details
Similar threads
- Replies
- 13
- Views
- 2,858
- Replies
- 123
- Views
- 7,558
- Replies
- 108
- Views
- 72,055


