Hello Guest !
We wanted to let you know about a new resource that is now available to all 500Eboard members. This is a comprehensive database of all US-market (and soon to include Canadian-market) 500E and E500 models delivered for the 1992 through 1994 model years.
Data for this resource has been compiled continuously since mid-2003, and much of this information is seeing the light of day for the very first time ever. This new resource will allow you to utilize 500Eboard research and resources to track specific cars, their sale history, documented modifications, and other information that has surfaced over the years.
We are also providing analytics about the cars' production. This means that if you are curious as to how many "Signal Red" cars were produced for the US market with a black interior, specifically in Model Year 1993, you can now easily find this information. You can also find aggregated information -- for example, how many "Black Pearl" cars were imported into the US over the three-year span.
You can always find and enjoy this resource by clicking here (bookmark the site for easy reference!), or by going to the “500Eboard Registry and VIN Database” sub-forum below. You can also find a VIN Database button at the top of your screen, for easy access.
We hope you enjoy this resource. A LOT of blood, sweat and tears over nearly 23 years have gone into its creation.
Cheers,
500Eboard Management


") amazing transformation since when I first saw that car in the Dubai used car market !
amazing transformation since when I first saw that car in the Dubai used car market !


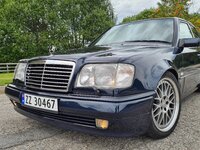


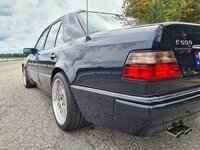


 Your car looks


 ️ many years