I am building this car for member viking1, it is nearing completion and I thought it was good time for a build thread.
Quick run down :
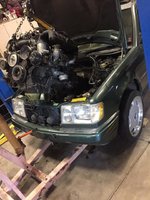
Car:
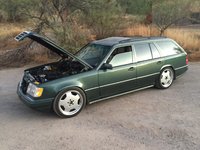
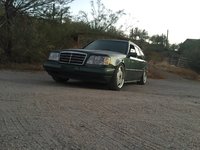
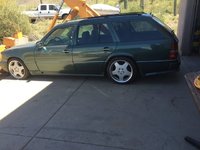
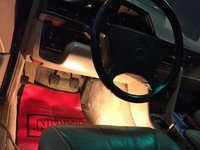
Rust and accident free 1994 S124 E320 Green on Tan - 225,000 happy gasoline powered miles
Sold at Beverly hills MB and came with original window sticker
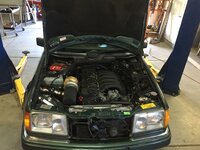
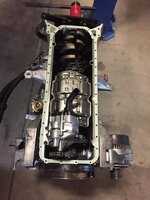
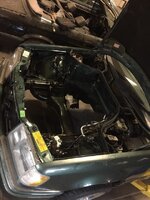
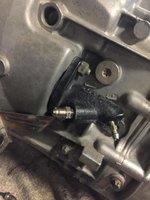
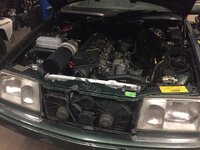
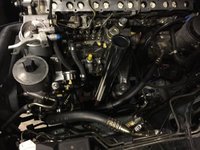
Motor:
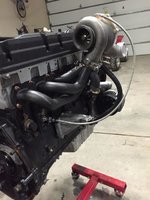
-1999 OM606.962 - Horsepower goal is 600+RWHP 700+TQ and 3.5+Bar of boost
-DieselMeken 8mm pump
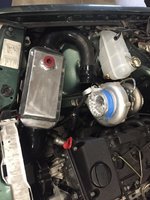
-Precision PT6466 Dual Ceramic Ball Bearing Turbo V-band in/outlets
-Precision PW46 Wastegate 21psi springs for "low" boost
-Full 3" stainless exhaust
-AEM Methanol Injection with 2.5 Gallon tank
-Bosch 044 fuel pump
-Aeromotive adjustable FPR set to 15psi
-Water to Air intercooler with dual heat exchangers mounted on either side of the bumper
-5 Gallon tank with Bosch Cobra water pump
-Air Conditioning!
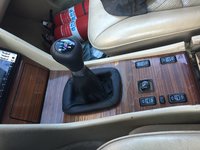
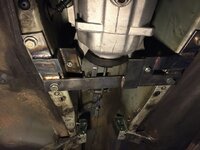
Transmssion:
-BMW ZF320 5 speed from E36 M3 (Known for taking lots of abuse in turbo E36s)
-Diesel pump UK ZF adapter
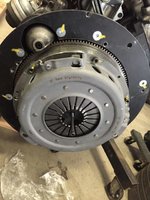
-DPUK Clutch and flywheel
-E34 M5 765 Sachs Pressure plate and Disc
-Custom E46 Shift arm and Selector rod
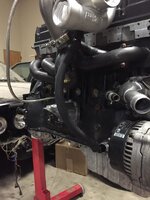
-Custom Cross brace
-W201/124 Manual Pedal box
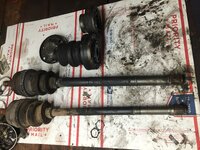
-M104 Driveshaft lengthened 45mm
-WaveTrac LSD 2.65
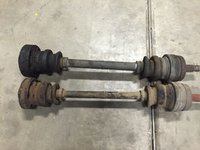
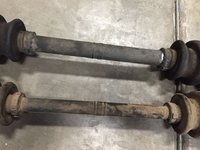
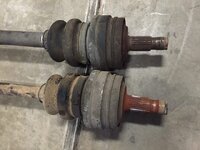
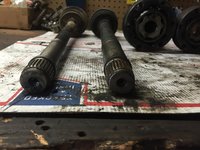
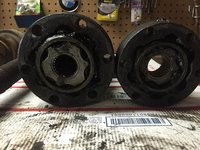
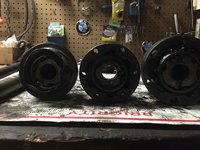
-Rebuilt Axles
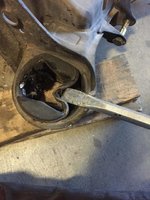
Suspension:
-Bilstein HD front struts with new mounts
-All new steering components
-Lorinser lowering springs
-New wheel bearings front and rear
-New front control arms
-New Front and Rear Subframe bushings
-New Diff Mounts
-All new rear links
-LCA Bushings inner/outer
-SLS delete with rear air shocks
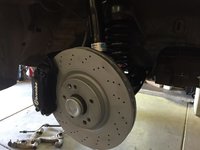
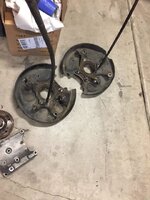
Brakes:
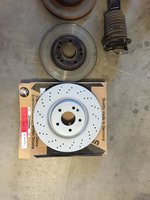
-R129 Silver Arrow Brembos Front and Rear (Thanks GSXR!)
-Goodridge stainless brake lines
-ATE Type 200 Fluid
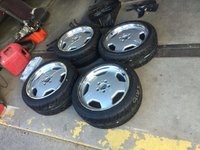
Wheels:
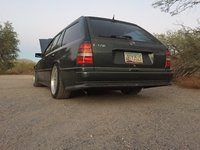
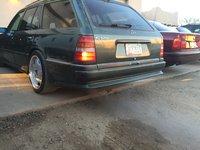
-18x8 - 18x9 / ET31 - 35 E55 Monoblocks, freshly refinished in silver with machined lips
-Potenza RE-71Rs
Body:
-Full AMG body kit, the car came with genuine side skirts and rear bumper already installed. Need to source a matching front bumper
I am organizing all the pictures now, I will post them in a little while
Quick run down :
Car:
Rust and accident free 1994 S124 E320 Green on Tan - 225,000 happy gasoline powered miles
Sold at Beverly hills MB and came with original window sticker
Motor:
-1999 OM606.962 - Horsepower goal is 600+RWHP 700+TQ and 3.5+Bar of boost
-DieselMeken 8mm pump
-Precision PT6466 Dual Ceramic Ball Bearing Turbo V-band in/outlets
-Precision PW46 Wastegate 21psi springs for "low" boost
-Full 3" stainless exhaust
-AEM Methanol Injection with 2.5 Gallon tank
-Bosch 044 fuel pump
-Aeromotive adjustable FPR set to 15psi
-Water to Air intercooler with dual heat exchangers mounted on either side of the bumper
-5 Gallon tank with Bosch Cobra water pump
-Air Conditioning!
Transmssion:
-BMW ZF320 5 speed from E36 M3 (Known for taking lots of abuse in turbo E36s)
-Diesel pump UK ZF adapter
-DPUK Clutch and flywheel
-E34 M5 765 Sachs Pressure plate and Disc
-Custom E46 Shift arm and Selector rod
-Custom Cross brace
-W201/124 Manual Pedal box
-M104 Driveshaft lengthened 45mm
-WaveTrac LSD 2.65
-Rebuilt Axles
Suspension:
-Bilstein HD front struts with new mounts
-All new steering components
-Lorinser lowering springs
-New wheel bearings front and rear
-New front control arms
-New Front and Rear Subframe bushings
-New Diff Mounts
-All new rear links
-LCA Bushings inner/outer
-SLS delete with rear air shocks
Brakes:
-R129 Silver Arrow Brembos Front and Rear (Thanks GSXR!)
-Goodridge stainless brake lines
-ATE Type 200 Fluid
Wheels:
-18x8 - 18x9 / ET31 - 35 E55 Monoblocks, freshly refinished in silver with machined lips
-Potenza RE-71Rs
Body:
-Full AMG body kit, the car came with genuine side skirts and rear bumper already installed. Need to source a matching front bumper
I am organizing all the pictures now, I will post them in a little while
Last edited:


")