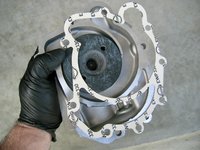
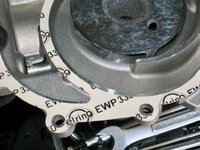
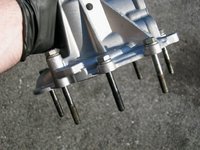
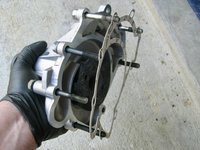
Today, I spent about 4 hours out in the shop. The main intention was to remove the tandem pump and its backing/mounting plate, so that I can get access to the front of the cylinder head to replace both of the timing chain rails on the driver's side.
Though I made some headway, I was not successful in removing the plate from the engine, as it is held by ONE top bolt from the back-side of the engine. The other two bolts that hold it to the engine -- one on the top backside, and one under the power steering reservoir, I was able to remove.
After struggling with things for a bit, I decided to stop for the day, and attack it again at a later time when I'm fresh.
Here are a few photos of some tasks I did today.
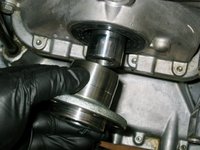
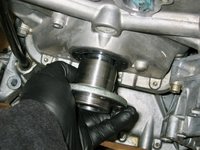
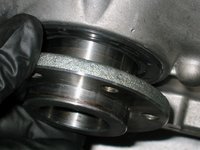
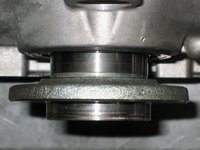
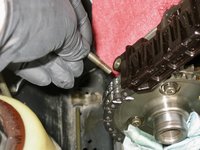
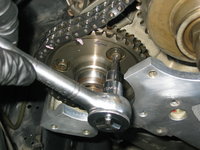
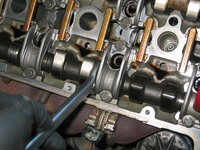
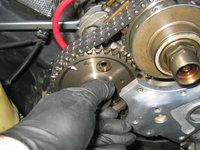
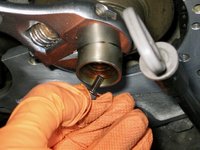
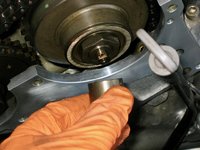
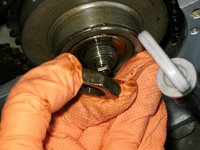
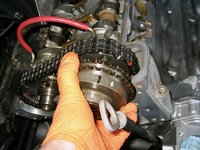
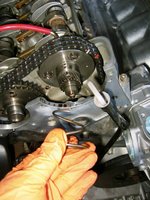
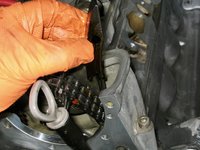
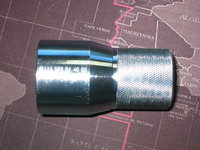
First, I was successful in using the new tool I obtained, to re-assemble and re-install the passenger-side intake cam adjuster mechanism. I'll show this process in detail when I do the driver's side cam adjuster mechanism, but suffice it to say that the tool made the job INFINITELY easier, taking just minutes, and is WELL WORTH the $100 ... particularly if you have an M104 and an M119 (it works with both engines).
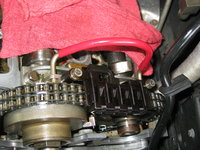
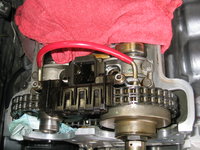
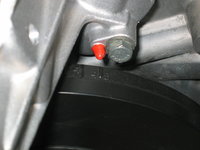
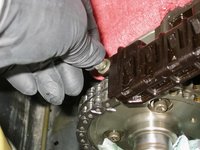
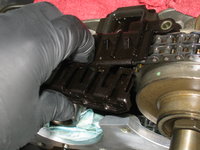
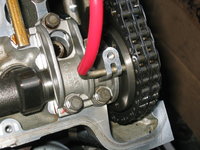
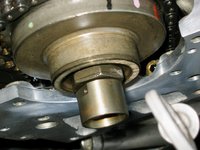
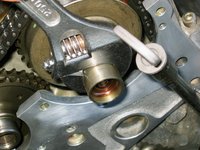
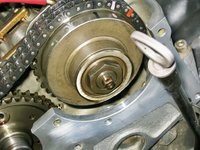
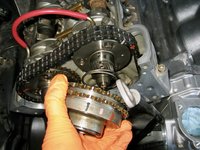
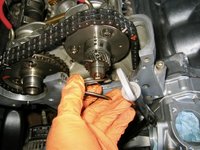
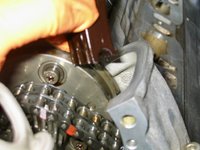
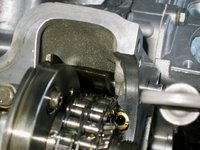
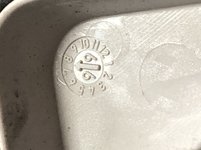
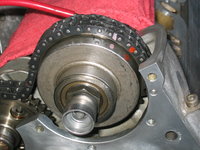
Here are a few photos of the pinned and re-assembled intake cam adjuster mechanism, with the chain marks lined up perfectly.
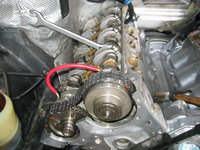
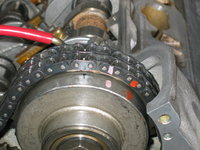
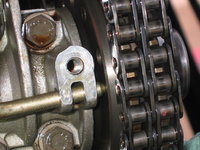
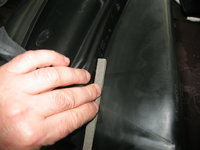
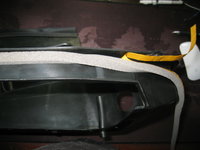
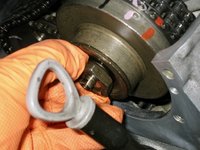
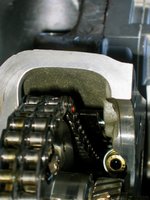
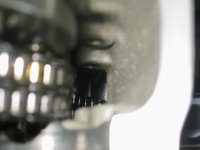
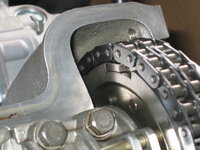
It's important when you install and adjust the intake cam adjuster, that it is re-assembled in the "retard" position, which is indicated by the photo below. The photo is taken looking toward the center of the car, from the passenger side of the engine. The little block protrusion on the back-side of the cam mechanism, must be up against the edge of the slot (look under the chain), as shown. A quick check with the
@gsxr confirmed that this is correct.
I will re-install the exhaust cam in the near future.
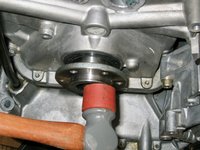
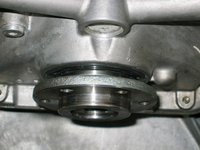
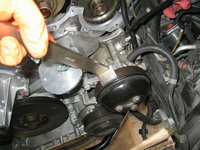
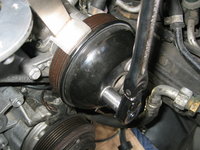
Next, it was time to do a bit more disassembly on the tandem pump. Specifically, I needed to remove the pulley. I used my trusty pulley holder, and a 13mm socket to remove the three bolts that hold the pulley to the flange on the front of the tandem pump.
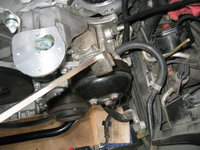

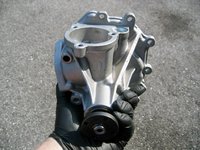
Then it was time to remove the connections from the tandem pump. Note that there are three hoses that must be removed -- two connections that go to the SLS system (front of the pump), and one that goes to the power steering system (the second power steering connection goes into the power steering fluid reservoir).
I removed these connections with a Philips head screwdriver, and a 17mm open-end wrench.
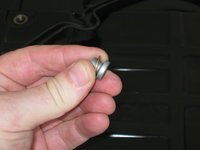
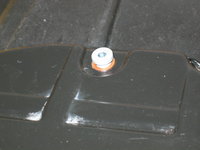
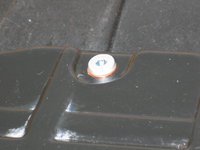
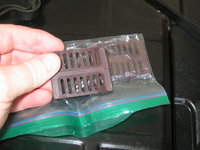
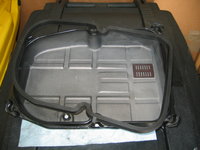
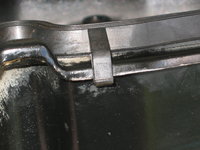
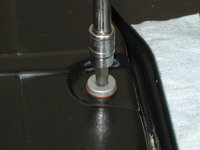
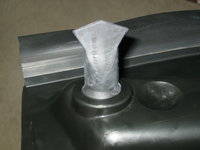
First I removed the plug I'd made of a piece of lint-free towel. Then I used a 15mm Allen socket to remove the tube that screws into the reservoir plate, and goes through the infamous "short hose" from the reservoir to the tandem pump.

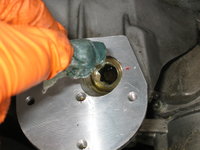
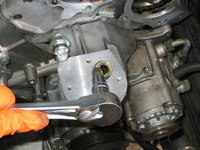
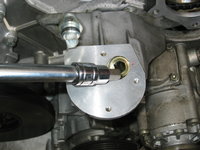
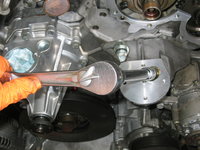
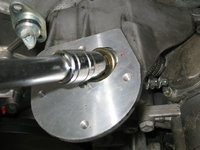
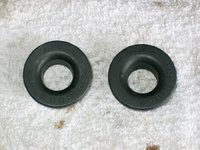
Then I removed the tube, and its aluminum washer.
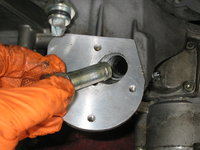

The next thing I removed were the hose connections at the tandem pump. As mentioned, the connections are despatched by a Philips head screwdriver, and a 17mm wrench. Make sure you put a drip container below, to catch the power steering fluid and SLS hydraulic fluid that will leak out of the lines when you loosen and remove them. It won't be too much fluid, but a drip/drain pan will make things much more pleasant.
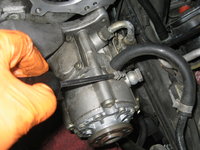
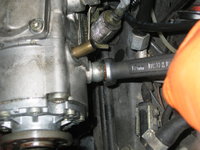

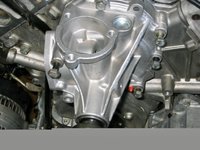
Removing these connections allows you either to remove the tandem pump itself, or the pump+backing plate as a unit.
As a next step (and I did not capture this photographically), I removed the "S" hose to the power steering pump. This is removed via two ring clamps at either end of the hose, which are loosened with a long flat-blade screwdriver. From my tandem pump job some years back, I had one clamp accessible from underneath the car, and the other clamp accessible from the engine compartment. You can also orient it so that both clamps are accessible from underneath the car -- however you want to do it. I will probably re-install the "S" hose with both clamps pointing downward, so I can loosen both from under the car.
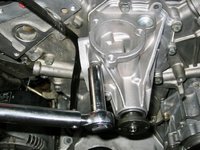
Removing the "S" hose makes MUCH more room available for getting to the bolts that hold the tandem pump to the plate (the two from behind), as well as the top-most bolt that holds the plate to the engine from the back-side. It's probably possible to remove these bolts without removing the S-hose, but it sure made more room available -- a lot more comfort for very little work.
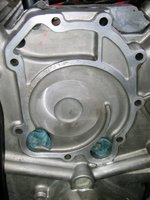
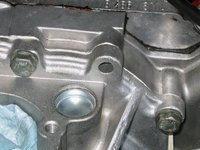
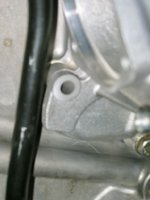
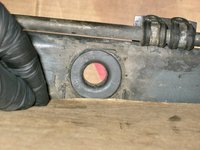
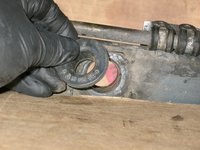
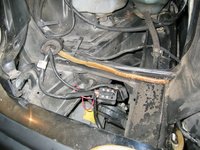
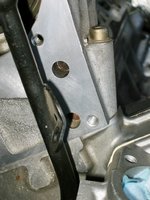
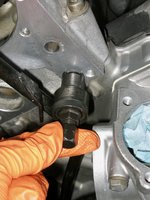
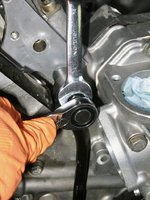
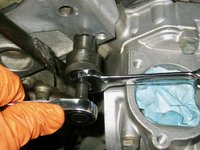
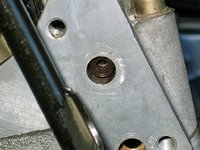
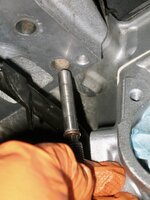
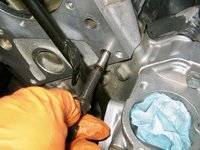
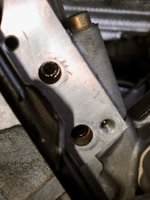
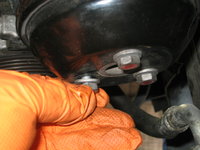
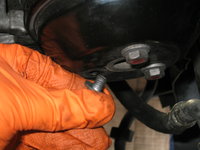
I spent the better part of an hour trying to get that top bolt for the tandem pump backing plate loosened (it's a 13mm bolt), but I was not able to easily do it. I was able to get the other two tandem pump backing plate bolts loosened -- another 13mm bolt that goes into the cylinder head edge from the back-side (which can be accessed from the engine compartment, although just barely), and a 6mm Allen bolt that is located under the power steering pump reservoir.
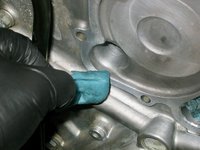
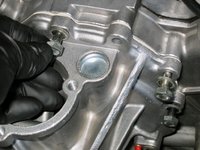
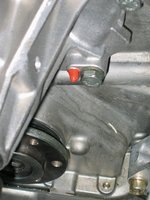
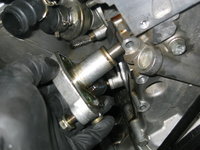
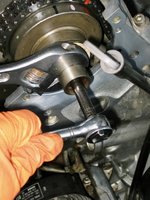
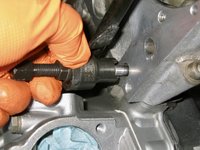
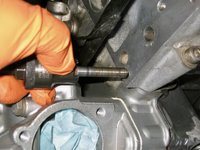
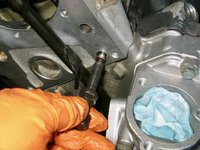
You can see the process for removing the 6mm Allen bolt for the tandem pump backing plate.

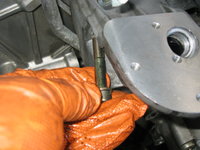

It's IMPORTANT to note that this 6mm Allen bolt for the backing plate requires the use of the orange koala-claw goo when it is re-installed, as it enters the timing chain compartment. This anaerobic goo helps seal this bolt and threads from oil seepage.
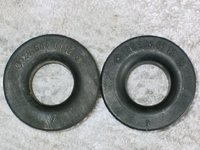
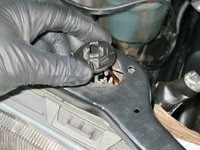
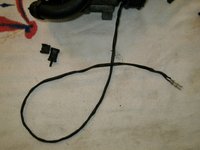
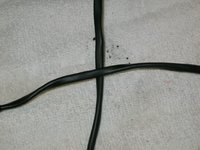
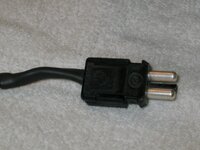
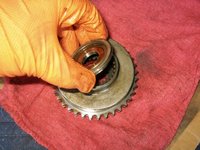
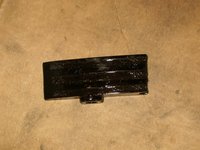
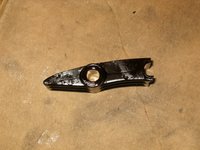
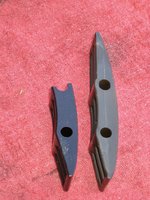
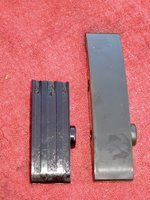
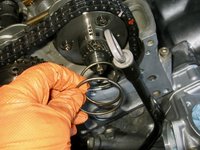
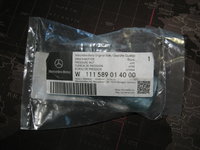
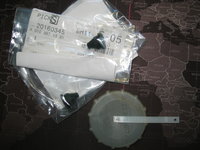
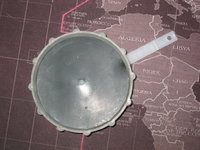
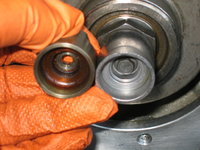
The next thing I did was to install the new armature onto the intake camshaft on the passenger side. This is the "second series" design of armature, and it is required when using replacement cam solenoids. Here are a few views of the solenoid, installed.

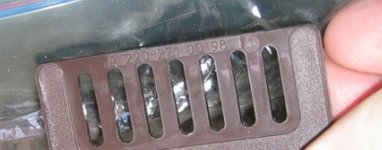
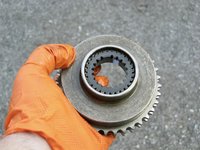
Here is the "old" armature and the "new" armature, side by side. It's a bit difficult to tell from the blurriness of the photo, but the interior profile of the armatures is different -- the "old" design armature has a more rounded profile, and the "new" design armature has a square profile. This is important and notable, because the new design cam solenoids have an interior profile that fits these revised armatures. The old and new design armatures and solenoids ARE NOT compatible nor interchangeable.
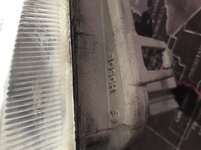
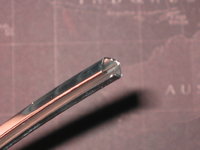
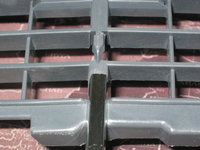
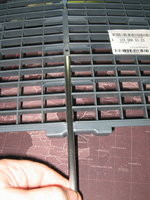
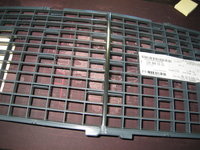
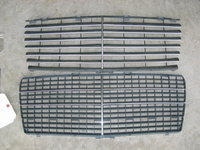
Lastly, I removed the grill from the car's hood, and then removed the "old" 140-style (Avantgarde) insert from the grill frame. The Avantegarde grill, which I installed on the E500 probably 15 or 16 years ago, was starting to show its age in the slats, being sand-blasted and weather-worn. The aluminum strips were also dull and sand-blasted. Looking at the old Avantgarde grill, I saw a W140 part number on the bottom of it, so indeed it is a cut-down W140 part that I purchased on the aftermarket.
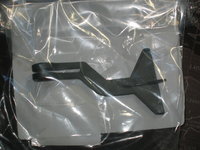
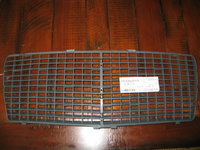
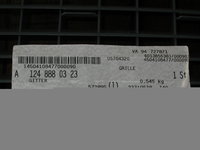
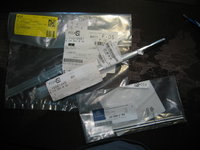
Here are the new and old grill inserts, side by side. Note that the new grill insert is still missing two of its horizontal slats, which are back-ordered from MB and should hopefully be received in the next week or two. In the meantime, I will polish and clean the chrome grill shell (which doesn't have any major damage other than some faint stone dings and sand-blasting), and re-use it.
That was about all for today. I'll attack that tandem pump backing plate with a fresh mind and pair of eyes, and will try to get to it tomorrow (Monday) so that I can continue the timing chain rail replacement on the driver's side of the engine.
Thanks for your interest !
Cheers,
Gerry


