A few advises from my fun with the wiper. I should have posted this a few weeks earlier, but my health problems forced me to reduce time spent before PC screen. Anyway, below is for those, who like me, disassembled the whole thing (either in hurry or out of curiosity) and did not make any marks allowing to put things together without loosing the clocking.
The whole mechanism is not so scary and complicated as you may find in the Internet stories and at least some of the alignments may be logically concluded.
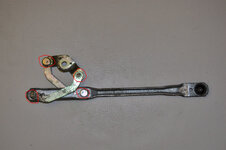
Your aim is to have all the following 4 parts in the park position. There are 4 parts which need to be aligned together:
1. The motor (marked
red)
2. The wiper mechanism (marked
yellow)
3. The lever which connects the motor with the wiper arm (marked
blue)
4. The lever which connects the wiper mechanism with the wiper arm (marked
green)


The motor is the simplest part. Take it to your car, connect, turn the wiper on and shortly after that off. The motor will stop in park position. You may repeat it one more time, just to be sure. The motor is done.
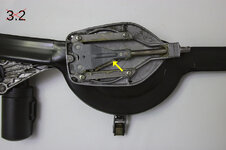
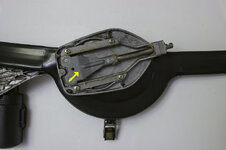
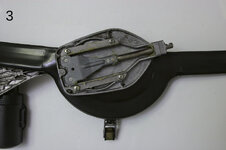
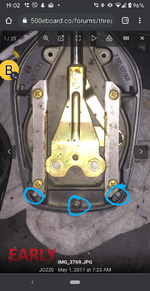
The wiper mechanism is the most interesting one. It has two boundary positions: completely retracted (pictures marked 1 and 3 below) and completely extended (picture marked 2 below). It is completely retracted when facing top (picture 1) and when in park position (picture 3).


When inserting the mechanism into its base it needs to be completely retracted and facing top (picture 1). There are two things here when doing this step:
- it is only possible to insert the mechanism when it faces top (so this can't go wrong);
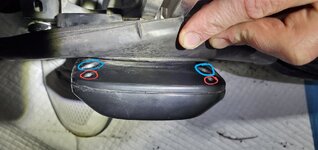
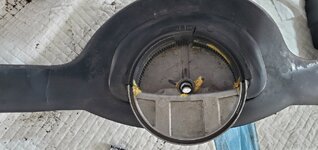
- it needs to be retracted (this can go wrong). So just make sure that the mechanism is retracted. You do not need to be perfectly perfect, just find your way. Mine was to have the rotating arm exactly between the two rail wheels as on the picture below:

You may now play bit rotating the mechanism to see how it works (or just have some fun with it

). You now need to find the park position as on picture 3. Note that:
- 3.1 is a bit before the park position; note the rotating arm (yellow arrow), it still did not complete its cycle;
- 3 is exactly the park position;
- 3.2 is a bit after the park position; note the rotating arm - it started its new cycle.
The reason that 3.2 is possible is that there are a few teeth left (those black on the inside part), most probably as a buffer.
You do not want to reach position 3.2. You need to finish in completely retracted position (picture 3) - see the photo above on how I found mine.


The wiper mechanism is done.
The next part is the lever which connects the motor with the wiper arm.
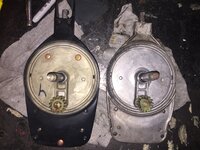
Here, I could not conclude anything. I used another wiper as a reference (I've bought one as a spare). So here is the key photo (worth 25 bucks being the cost of a spare, used wiper) which shows how the lever (blue arrow) is aligned to the base holder:

Press the lever into the motor's axle and secure with the nut. Just screw the nut with your fingers, but not too tight, do not use a wrench yet. Trying to do so could rotate the motor a bit and you will move it out of the park position (and we need to have all the 4 parts in the park position). The lever is done.
The lever which connects the wiper mechanism with the wiper arm (marked with green arrow on the first set of photos). That's the last part. There shouldn't be anything special to do: because we aligned lever with the motor (part 3), then this part should have its tooth combination also aligned. Just put it on the axle and it should get on it. At least it was in my case. Push it on the axle and secure with its nut.
Now secure the nuts which hold the lever on the motor's axle (part 3) and wiper's mechanism (part 4) with wrenches. Even if you now move the motor out of park position, all the four parts will be moved together, so you will not loose the clocking. It will finish in the park position when started and stopped.



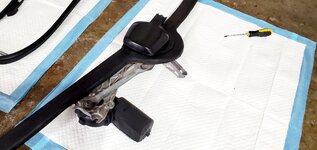









 ) to become unseated from the shaft, went back on almost effortlessly.

 . Joe, thank you for the write-up and for your guidance.