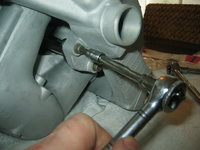
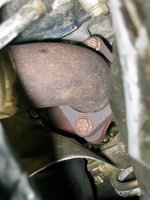
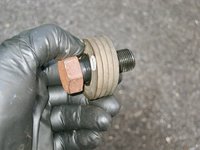
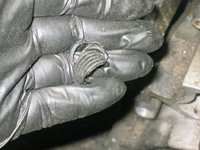
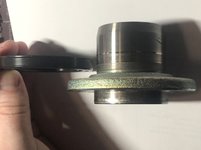
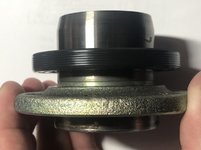
Last night and today I tackled a few jobs, totaling around 3.5 hours. I ended up getting stuck for about an hour of that time with the lower banjo bolt of the transmission cooler line, where it goes into the radiator. Finally got it, but it took a lot of messing around to break it loose.
After that, I was able to lift the radiator up and out.
Steps removing the radiator and associated trim:


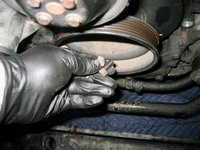
Moving the belt tensioner to release and remove the serpentine belt.

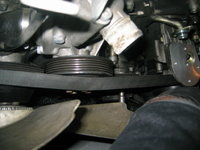
Inspecting the condition of the belt -- A-OK !! This belt would have been cracked to hell if I lived in Texas.

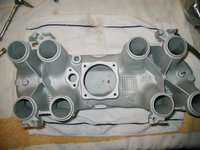
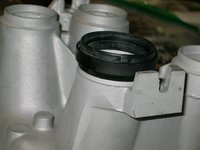
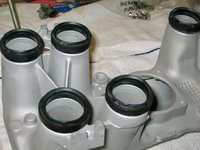
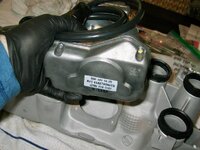
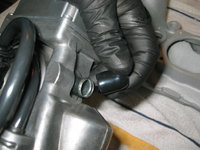
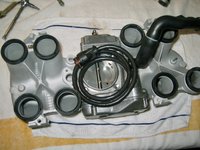
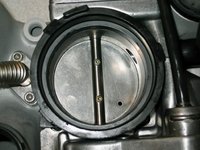
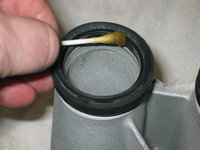
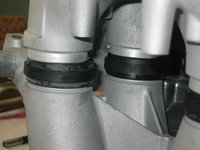
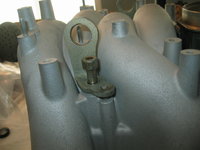
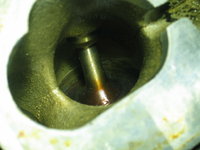
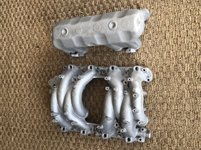
A couple of views of the intake valves after the initial round of cleaning.

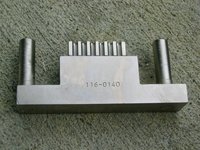
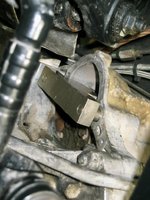
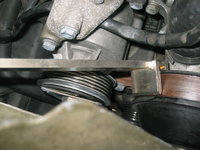
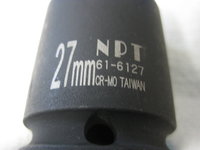
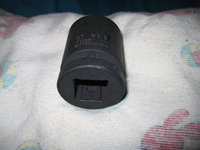
Holding the fan pulley to use the special MB socket to remove the center bolt that goes through the fan clutch.



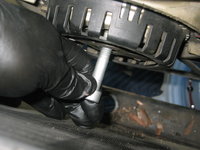
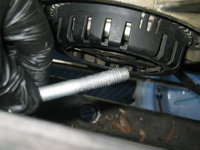
Removing the fan......
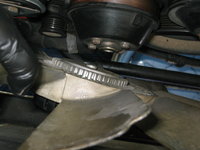


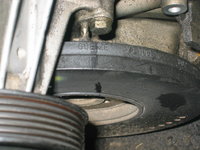
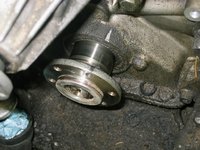
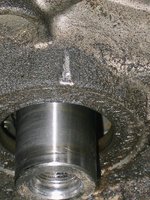
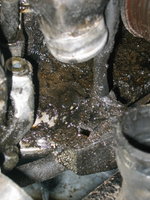
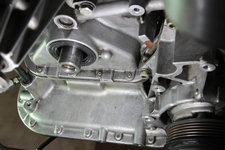
Here's what things look like with the fan and clutch removed. The second photo shows the grease and dirt caused by the front crankshaft seal leak.


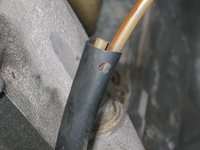
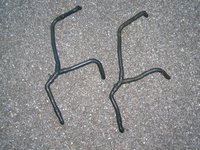
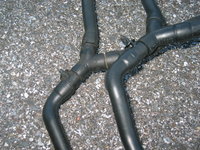
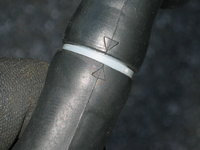
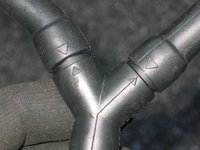
I happened to see a small hole caused by a mouse or rat nibbling through one of the sheaths containing the vacuum lines at the front of the engine. This probably happened when I lived in Texas.
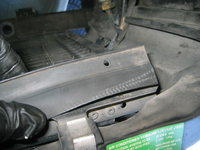
Upon removing the radiator, I found that a plastic rivet was missing, that held this piece of rubber trim to the top of the radiator support. So I'll order a couple of new rivets.

Removing the tensioner pulley.

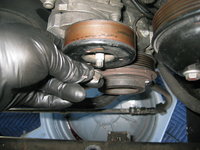

Examining the bearing of the tensioner pulley. If felt a little grainy and rough in its action, so I'm going to look for a new bearing to press into the pulley. A new pulley costs $70 from MB, discounted !!

Removing the three bolts that hold the tensioner to the engine.


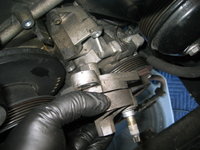

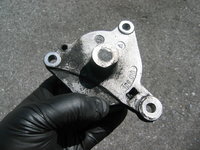
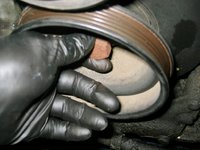
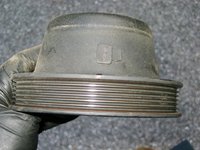
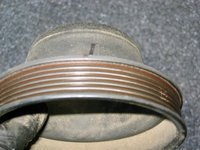
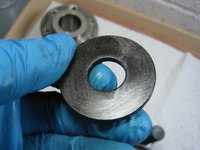
Removing the fan pulley.


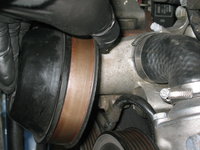

Removing the coolant overflow reservoir. It is held onto the engine by a bracket with a single 13mm bolt, and another longer bolt that goes down into the block. It has a long hard hose that snakes down around the crank pulley into the top of the reservoir. I removed the lower radiator hose from the water pump, and hosed the reservoir bolt down thoroughly with brake cleaner to expose it and clean it.


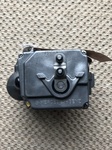
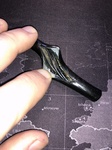
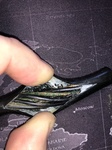
Here are some photos of the reservoir, showing how gummed up with oil that it is from the leaking front crank seal. The second photo is the reservoir, removed from the car.

I spent around 1 hour cleaning all of the removed parts, nuts and bolts in my Simple Green Extreme Motorsports cleaner. All of the bolts came out very nicely. They are packaged in sandwich bags and ready for when they are needed at re-assembly time.
After that, I was able to lift the radiator up and out.
Steps removing the radiator and associated trim:


Moving the belt tensioner to release and remove the serpentine belt.


Inspecting the condition of the belt -- A-OK !! This belt would have been cracked to hell if I lived in Texas.

A couple of views of the intake valves after the initial round of cleaning.


Holding the fan pulley to use the special MB socket to remove the center bolt that goes through the fan clutch.


Removing the fan......


Here's what things look like with the fan and clutch removed. The second photo shows the grease and dirt caused by the front crankshaft seal leak.


I happened to see a small hole caused by a mouse or rat nibbling through one of the sheaths containing the vacuum lines at the front of the engine. This probably happened when I lived in Texas.

Upon removing the radiator, I found that a plastic rivet was missing, that held this piece of rubber trim to the top of the radiator support. So I'll order a couple of new rivets.


Removing the tensioner pulley.


Examining the bearing of the tensioner pulley. If felt a little grainy and rough in its action, so I'm going to look for a new bearing to press into the pulley. A new pulley costs $70 from MB, discounted !!

Removing the three bolts that hold the tensioner to the engine.


Removing the fan pulley.


Removing the coolant overflow reservoir. It is held onto the engine by a bracket with a single 13mm bolt, and another longer bolt that goes down into the block. It has a long hard hose that snakes down around the crank pulley into the top of the reservoir. I removed the lower radiator hose from the water pump, and hosed the reservoir bolt down thoroughly with brake cleaner to expose it and clean it.


Here are some photos of the reservoir, showing how gummed up with oil that it is from the leaking front crank seal. The second photo is the reservoir, removed from the car.


I spent around 1 hour cleaning all of the removed parts, nuts and bolts in my Simple Green Extreme Motorsports cleaner. All of the bolts came out very nicely. They are packaged in sandwich bags and ready for when they are needed at re-assembly time.




![[500Eboard] IMG_2464.JPG.jpg [500Eboard] IMG_2464.JPG.jpg](https://www.500eboard.co/forums/data/attachments/101/101115-891521d9fade4abbd70d32118d1cb1ec.jpg?hash=iRUh2freSr)






 at the


