Today was about 5 hours out in the shop, and a lot of small things done.
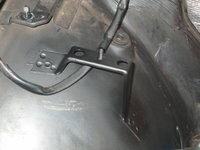
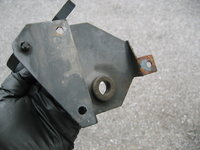
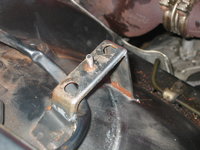
The first thing I did was to give the exposed metal (which I'd removed the surface rust from) on the foot of the SLS fluid bracket, a couple of thin coats of Rust-Oleum black paint. Hopefully this should help keep any future corrosion away, at least for another decade or two.

Then it was time to clean the hardware with a wire brush, to get all of the surface rust off of the nuts. They cleaned up pretty nicely.

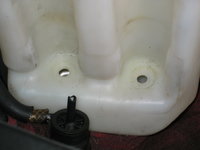
A rag soaked in brake cleaner made fairly short work of cleaning the area up under and around the SLS tank, including the side of the windshield washer fluid reservoir.

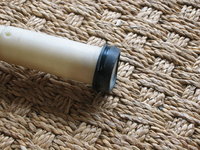
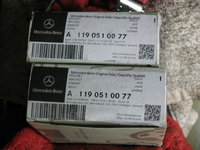
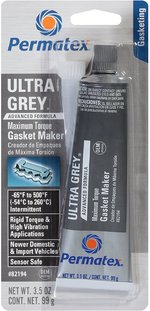
Looking ahead to the next job, I pulled out the two replacement cam solenoids I'd purchased a couple of months ago, and set them aside. I also got out my new tube of koala claw goo, which is also only a couple of months old. A couple of photos show a comparison of the old and new tubes of goo.


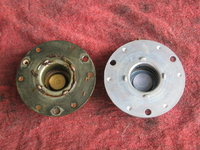
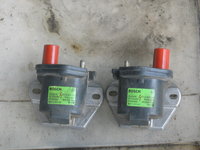
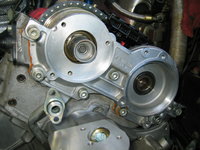
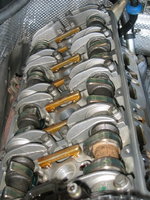
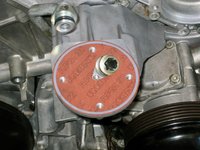
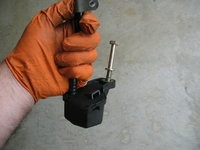
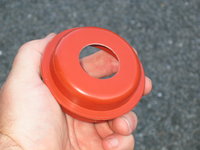
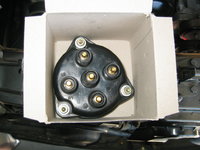
And a couple of comparison shots of the original and replacement cam solenoids. Note that the original solenoids are nicely finished. The replacements not so much. Manufacturer is still the same company.

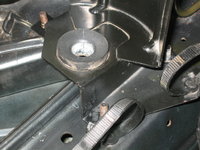
After the paint had dried on the SLS fluid tank bracket, it was time to lower it into place, and tighten down the three 10mm nuts that held it into place. I put a couple of drops of oil onto the threads of each pin, to make the tightening of the nuts a bit easier.
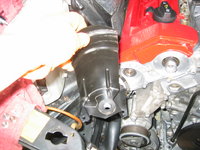

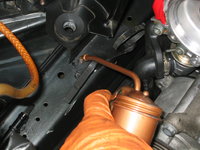


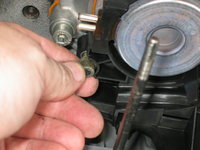
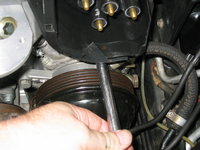
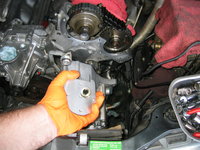
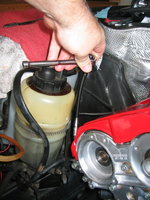
Then I slid the second clamp onto the short hose. After that, I moved the spring down onto the top of the tank, and got it nearly into place. A hooked tool helped move the spring downward, once I'd installed the SLS fluid bottle into its bracket.


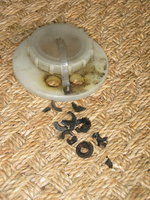
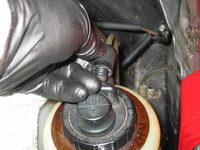
Then I connected the hydraulic fluid return hose, at the top of the cap on the fluid bottle, and tightened it down.


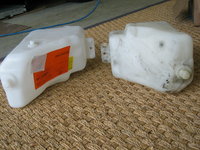
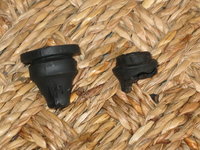
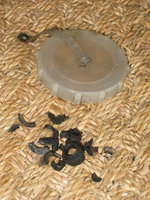
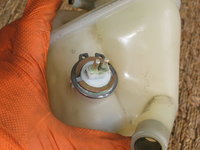
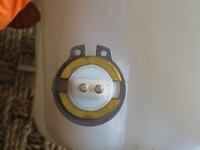
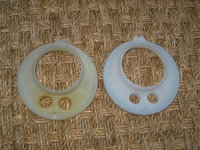
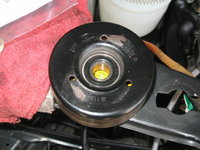
And here's what a new SLS bottle looks like. Quite a difference from the old one.

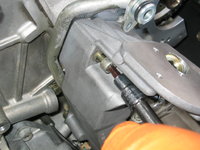
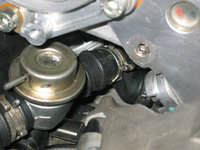
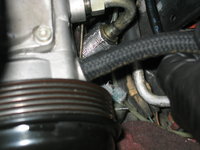
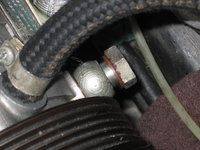
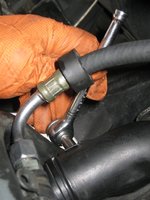
The last step was to re-attach the short braided hose from the bottom of the SLS fluid bottle to the hard line. This was done with ease, and the remaining clamp tightened into place.


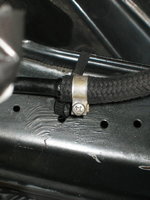

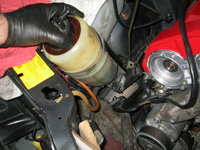
And here's the hose and SLS fluid bottle, re-installed and ready to go.

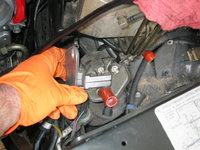
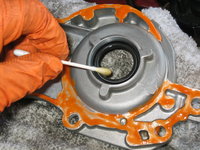
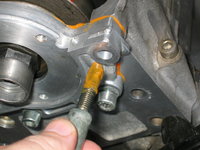
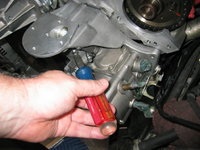
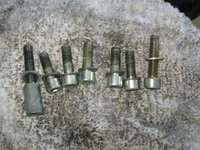
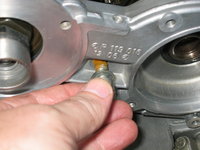
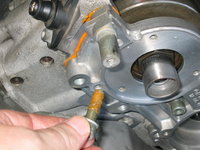
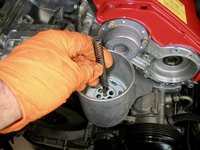
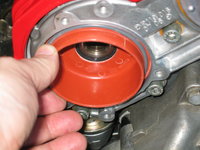
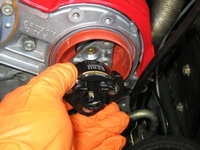
Picking up where I left off, it was time to install the two new cam solenoids. Using a Q-tip, I smeared the sealing surface of the solenoid with the orange koala-claw goo in as even of a coat as I could. Then I pushed the three bolts through, and added some goo to their threads, as well.


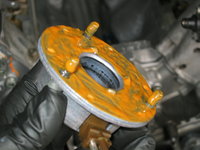
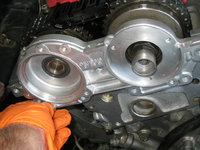
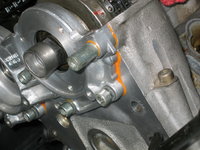
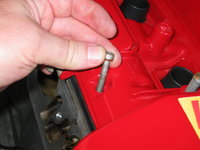
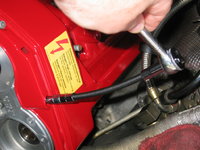
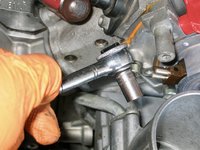
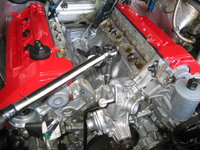
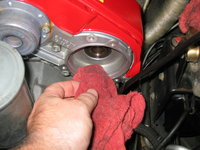
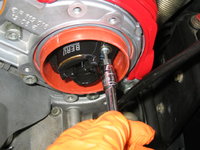
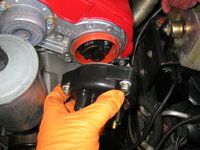
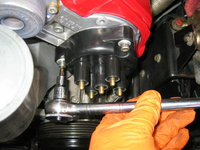
Then I installed the solenoid into the proper position, and began threading the bolts into the front cylinder head cover with my fingers. A small 1/4" torque wrench made short work of torquing the three bolts. I snugged each one down to 5 Nm, and then successively torqued each bolt to its specified 10Nm (which was just off the scale of the torque wrench). I used a 1/4" ratchet to ensure that each of the 5mm Allen bolts was snugged down into position.
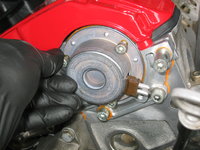


Then, I repeated the exact same process on the left (driver's) side.


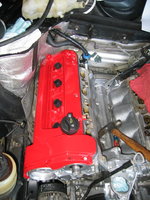
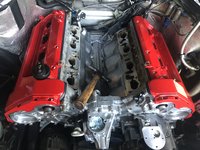
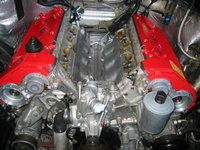
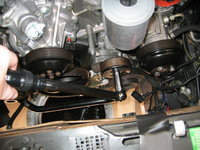
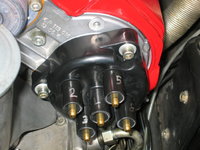
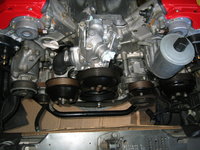
Here's a front view of the engine, with the cam solenoids attached.

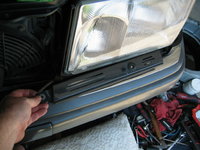
The next task was to remove the front headlight, so I could get to the series resistor and two coils located behind it, for replacement in the coming days. Removing the headlight is a pretty straightforward task, and generally requires only an 8mm wrench and/or socket.


Note that after the headlight wiper was removed, the rubber wiper insert is beginning to tear, necessitating the procurement of a new pair of windshield wipers, so that I can cut them down to proper length to fit the headlight wipers.

Continuing on with the removal of the left-side headlight.
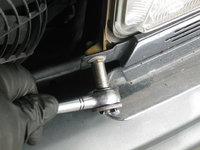


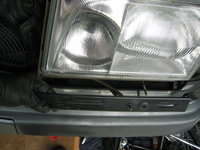


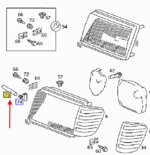
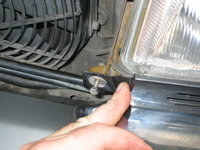
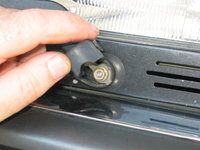
With the headlight out, the plastic air scoop is exposed. This is held in by four small bolts, which I removed.


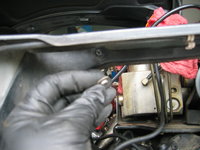
I removed the large piece of forked foam under the turn signal.

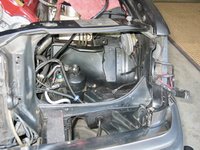
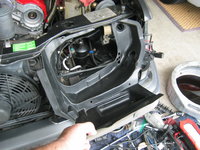
And here's the headlight area, with the air scoop removed. Note the rectangular piece of foam that sits underneath it. It wasn't quite as degraded as the passenger side, but it will be replace nonetheless, because I had already cut a replacement piece for it.
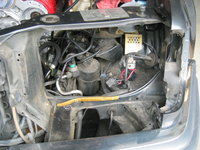

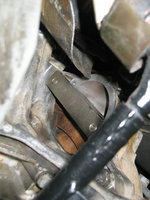
Another couple of views of the area behind the headlight, from THROUGH the headlight, and from above.
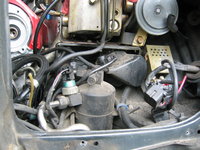

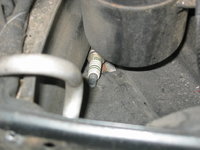
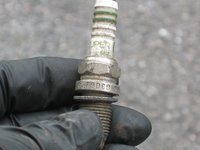
Inspecting the area, I found an old spark plug that had dropped down into the crevasse, as well as a rusty razor blade. Looking at the spark plug, it was DEFINITELY not one of mine, looking at the Bosch plug number. BUT, it was a Bosch Super non-resistor plug, so at least it had that going for it. It must have been accidentally dropped down there by a mechanic prior to my ownership of the car as of 2003.


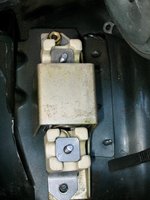
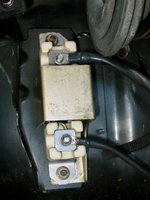
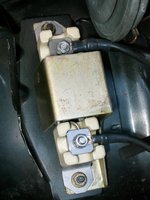
Turning my attention to the series resistor, I removed the two small nuts that held the resistor to the body, as well as the two nuts that held the connections to the ends of the resistor. It was not in BAD shape, but certainly warranted the $35 for a replacement.
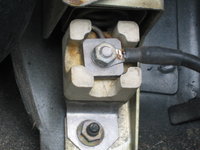


A few more views of the resistor as removed from the car.


Here's what things look like with the resistor removed.

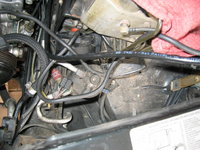
Next it was time to remove the coils. First I removed the black plastic covers. They were quite dirty.


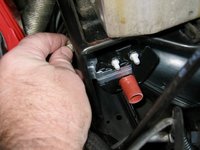
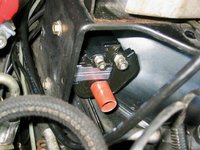
Then I took photos the two 10mm nuts and bolts that held each of the coils to the car's body, so that I can re-install them in the correct orientation for re-assembly.
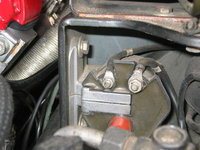


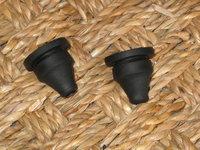
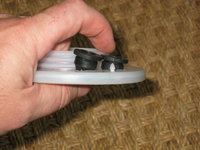
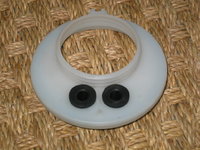
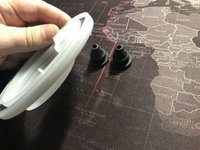
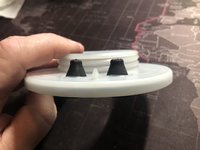
Funnily enough, the rubber drain grommet in the plastic air scoop had been eaten away by rodents, just like the passenger side. Since I had ordered two of them, I replaced it straightaway as I cleaned up the air scoop.

The two black plastic coil covers also cleaned up quite nicely.

Then I removed the two coils. Four bolts to loosen the coils, and four nuts and washers to loosen the electrical connections to the coils (one 8mm and one 10mm nut per coil).
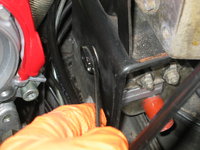



I do not believe it is possible to remove the coils, without first removing the headlight. It is VERY tight in there, even with the headlight out !! These original coils did a yeoman's job for 142k miles, but I will save them as reserve spares after cleaning them up.
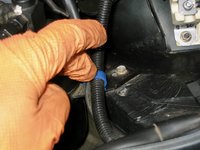
The two electrical leads to the right side were marked with little white "R" tags on each lead, but they had dried out and were falling off the leads. To keep them together, I took a piece of Scotch tape and taped the two "R" leads together, to make re-assembly easier.

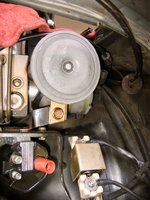
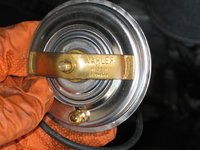
Next I removed the horn, and moved it upward and out of the way so I could clean behind and under it.

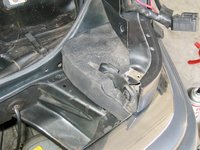
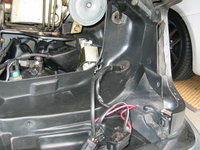
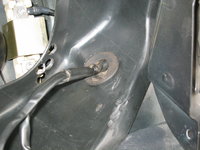
And lastly, I started cleaning the area behind and under the headlight, with the coils, resistor and horn out of the way. First is a "before" shot, and next is a "during" shot. I'll publish an "after" shot before I start re-assembling everything. My new coils are slated to arrive on Monday.


Thanks for your continuing interest !!











































































































































 for your interest !!
