Last night, I spent about 30 minutes out in the shop. Would have liked to have spent more, but work activity ran late, and I wanted to spend some quality time relaxing with Laura.
What I did was to remove the driver's side valve cover, and the front cylinder head cover. I documented these better, seeing as I wasn't able to document the passenger side the other night due to the unfortunate demise of my vintage "shop" digital camera.
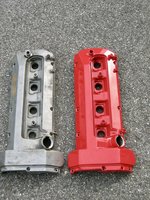
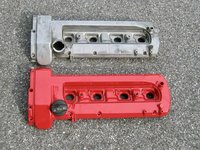
Today I'll clean up the other front cylinder head cover, and will re-install both head covers and the red valve covers.
Here's the process.
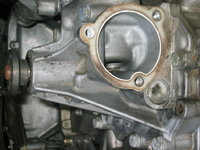
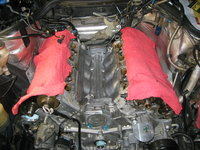
First of all, a view of the driver's side of the engine, just for orientation. As you can see, I haven't cleaned that side of the motor yet where the intake manifold rests on the cylinder head. That will be one of the forthcoming jobs.
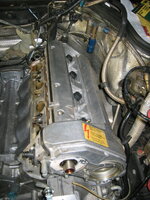
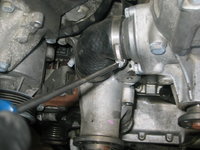
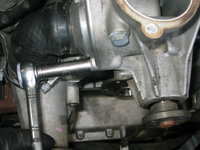
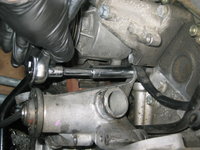
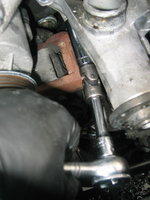
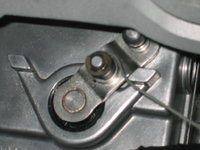
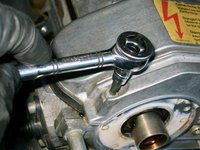
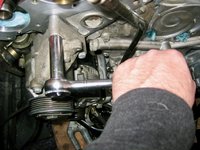
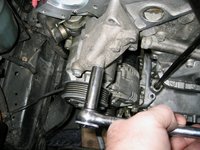
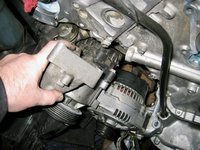
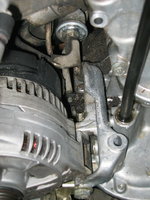
Using my 5mm Allen socket, and a 1/4" ratchet, I was able to loosen five of the seven valve cover bolts. The remain two, on the lower side and toward the rear (firewall), require the "swivel" 5mm Allen socket. This same socket is required for the rear-most lower valve cover bolt on the passenger side, as well.


Here's the rear-most lower bolt, after loosening with the 5mm swivel Allen socket.

Using a large flat-blade screwdriver, I began wedging it (gently) between the front cylinder head cover's upper shoulder bolt, and the tab on the bottom of the valve cover. It doesn't take too much effort or pressure to begin to pry the valve cover free...

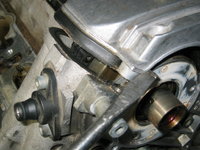
Lifting the valve cover off of the cylinder head.
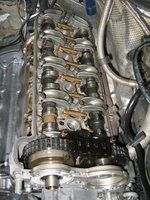
Here's the inside of my cylinder head. Looks pretty clean, even after a number of years since I was last in there (see my HOW-TO on replacing the cam oiler tubes). I've used RedLine full-synthetic oil, which has kept things very clean, and nicely lubricated. You can see that I did not clean the cam oiler tubes when I installed them -- I just fitted new o-rings and then installed them unwashed. The circulation of the motor oil has started to clean some of the brown cruft off of the cam oiler tubes, but it will take more miles and circulation to fully do this.
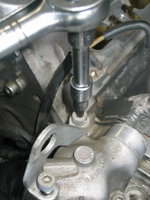
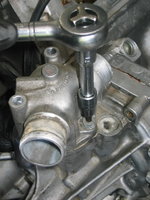
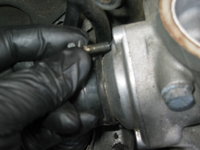
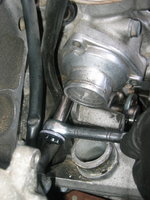
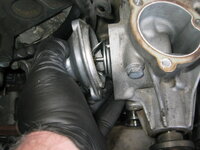
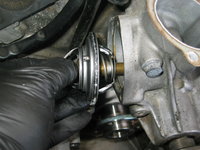
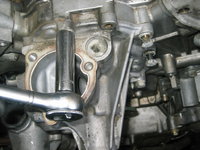
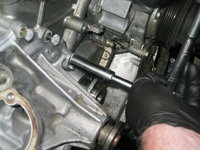
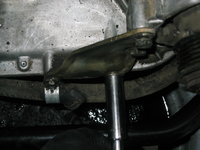
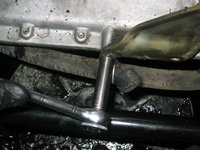
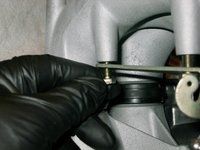
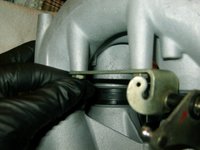
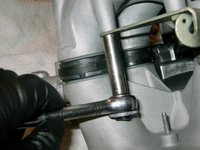
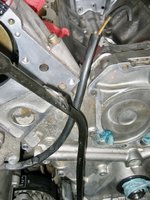
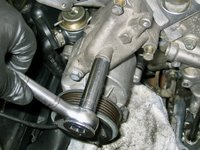
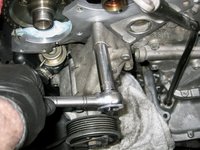
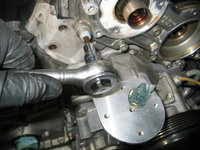
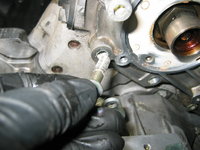
The next step after removing the valve cover, is to loosen the bolts that hold the cover to the front of the cylinder head. These are held on with 6mm Allen bolts. The long "shoulder" bolt fits at the upper position on the front (inside) of the cover. The longer 6mm Allen bolt (I believe it is an M8 x 35 size) goes in the position directly below the shoulder bolt. The remaining 6mm Allen bolts (of size M8 x 25) are all the same size.
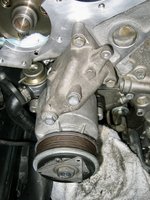
The photos below show the shoulder bolt being loosened (first photo), and the M8 x 35mm ("long") bolt being loosened and removed (second and third photos). Make sure you clean these bolts up with solvent or cleaner before re-using them. They will likely be encased with grime and dirt/grease on the bolt-heads, and will have orange koala-claw anaerobic sealing goo (dried up, of course) on the threads.

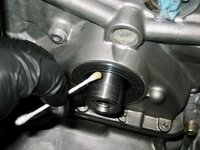
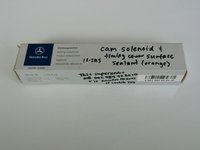
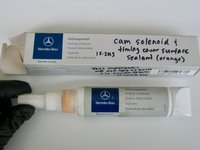
When you re-install the cylinder head cover and its bolts, you will need to coat the threads with the orange koala-claw anaerobic sealant, as well as the sealing surfaces of the cover itself, where it mates to the front of the cylinder head. We'll cover that later in this HOW-TO.
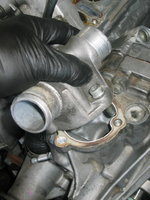
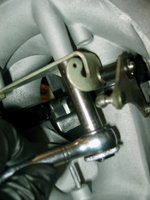
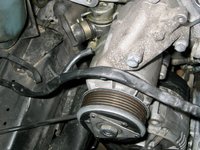
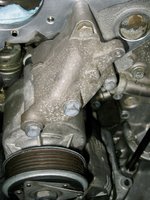
The next photos show the loosening and removal of the front cylinder head cover. It can be broken free by hand, after all of the bolts are removed.
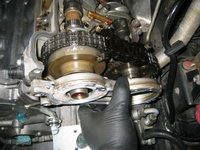
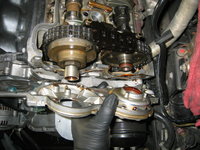
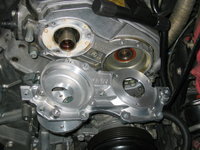
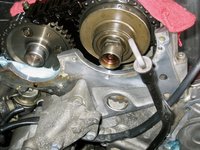
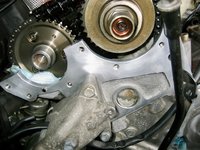
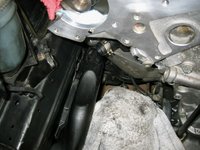
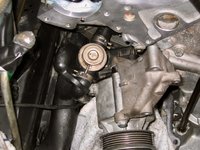
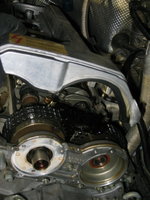
After you've removed the cylinder head cover, you see the front of the cam sprockets and intake cam adjuster. Cool stuff. You can see the very modest oil leak and associated dried oil. Although these oil leaks weren't that bad (they get MUCH worse), it was a totally logical thing to address while "in there" -- this is literally incremental labour given that I essentially have the entire front of the engine off anyway....not to mention was planning to replace the stock valve covers with the red powder-coated ones anyway.
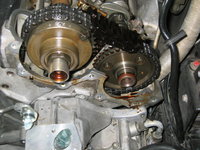
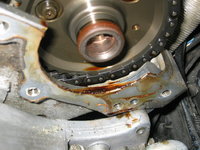
With the valve covers off, it was time for the driver's side cylinder head to join its Siamese Twin with a fresh protective layer of fresh shop rags, to protect from dust and such.
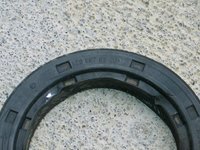
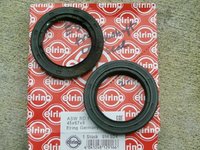
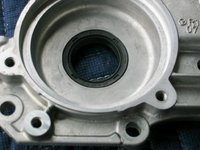
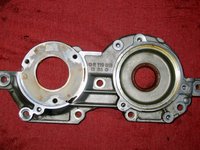
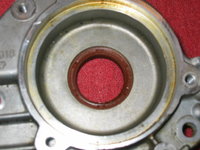
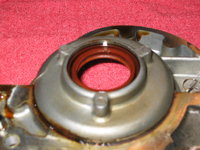
Now, it's time to turn to the cylinder head cover itself. Examining it closely, I could see that the cam seal was inset into the cover about 2mm. I will try to take better photographs, but when I replace it with the new seal, I will only inset it around 0.5mm into the cover. This should give about a 1.5mm off-set from the original position of the seam against the camshaft.
A bit of discussion and observation, before I close.
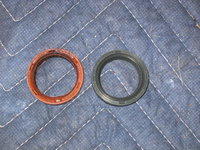
First, again as with the passenger side, the camshaft seal was very stiff and un-flexible, particularly on the sealing lip where it touched the camshaft. I am sure this is both some use, but also age. The rubbery plastic, depsite having a round metal spring to reinforce it from behind, just gets brittle and hard from age. I can guarantee that if you have not replaced these cam seals yet, that yours are 1) either leaking fairly badly; or 2) are hard/brittle and will be leaking soon.
The cam seals (as our own "Triple Trouble" has shown in his OWNER thread), CAN be replaced while on the car, without removing the cylinder head covers. It is more difficult to get the new seals inserted squarely in the cover with it on the car, but it is certainly possible to do. I recommend, honestly, that if you ever do this job yourself, that just just take the time to remove the valve covers (7 bolts each side) and the front covers (six or seven bolts each side) and replace them off of the car.
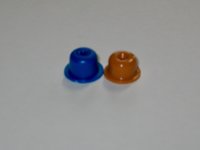
Secondly, after really looking at this set-up with the cam seals and distributor insulators, I have come to a conclusion. This conclusion is that the "moisture" droplets that we see on the back-side of the distributor insulators, which has been an increasingly common occurrance for many owners that cause poor running characteristics, is really the result of a combination of oil and moisture "mist" that finds its way past the camshaft seal and attaches to the back of the distributor insulators.
It's a minute amount of "mist" that gets by the seal, but over time it builds up, and eventually provides a path(s) of lower resistance, for electrical spark to find its way down and "short" the ignition system. This is what causes the rough running and such.
This situation happens when the cam seals are old, hard and brittle ... and not sealing well against the end of the camshaft. This situation in reality can only be remedied by installing new camshaft seals, in conjunction with new insulators. New insulators will remove any established electrical pathways and conductive areas on the backs of the insulators, but new insulators by themselves WILL NOT solve the underlying problem, which is the fact that oil and water mist (in some combination) is finding its way past the cam seal.
Looking at my own car's characteristics, I did not have a bad oil leak on either side (a modest leak was all) and I also did not have horrible insulators on the back side. I believe, however, if my cam seals had worn further, that it would have only been a matter of time before more oil/mist would have found its way past the brittle cam seals, and onto the backs of the insulators ... and caused running problem on my car as well.
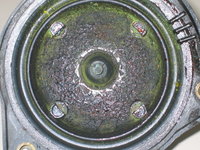
This is a totally different issue than moisture finding its way into the distributor caps from the front side (which I don't think is a major issue), as well as "green slime" inside the caps. I have personally experienced and observed distributor caps with major amounts of crud inside them running almost perfectly. One caveat -- this is very different from having the black electrical traces inside the caps that run from the center post out to each of the terminals. This is another "electrical short" situation where spark is finding its way via an alternate pathway of lesser resistance, thus shorting and causing rough running.
NOTE: Below are images of the insides of my original E500 distributor caps and rotors, which I replaced back in early 2004 when I lived in Portland, Oregon. Note that though these caps on my car were covered in green slime on the inside, the car idled and ran almost perfectly. I only noticed slight and occasional "hiccups" in the idle while sitting at stoplights. The situation disappeared after replacing the caps and rotors.
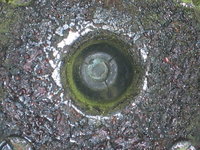
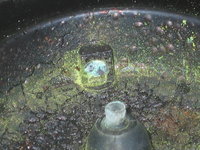
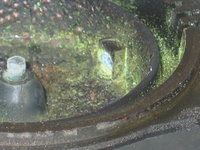
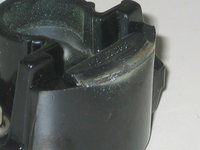

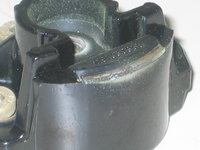
What I'm trying to say here is that there are two different ways that the M119 with LH (or CIS-E) can have distributor problems that cause rough running: a) by having insulators that have moisture/oil mist on the back side, caused by a failing cam seal; and b) having "alternate" electrical traces develop inside distributor caps, caused by moisture or other problems.
Both of these situations need to be carefully searched for and diagnosed.
Cheers,
Gerry

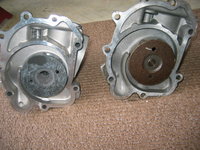
 That makes sense Gerry. Hang onto the original MB pump though you might be able to turn it in for a MB reman in the future.
![[500Eboard] IMG_9075.jpeg [500Eboard] IMG_9075.jpeg](https://www.500eboard.co/forums/data/attachments/101/101789-88c3a77eec1814045d109037e86fdc8b.jpg?hash=iMOnfuwYFA)
